The Science of Gluten-Free Flours: Blending for Optimal Results (2026)

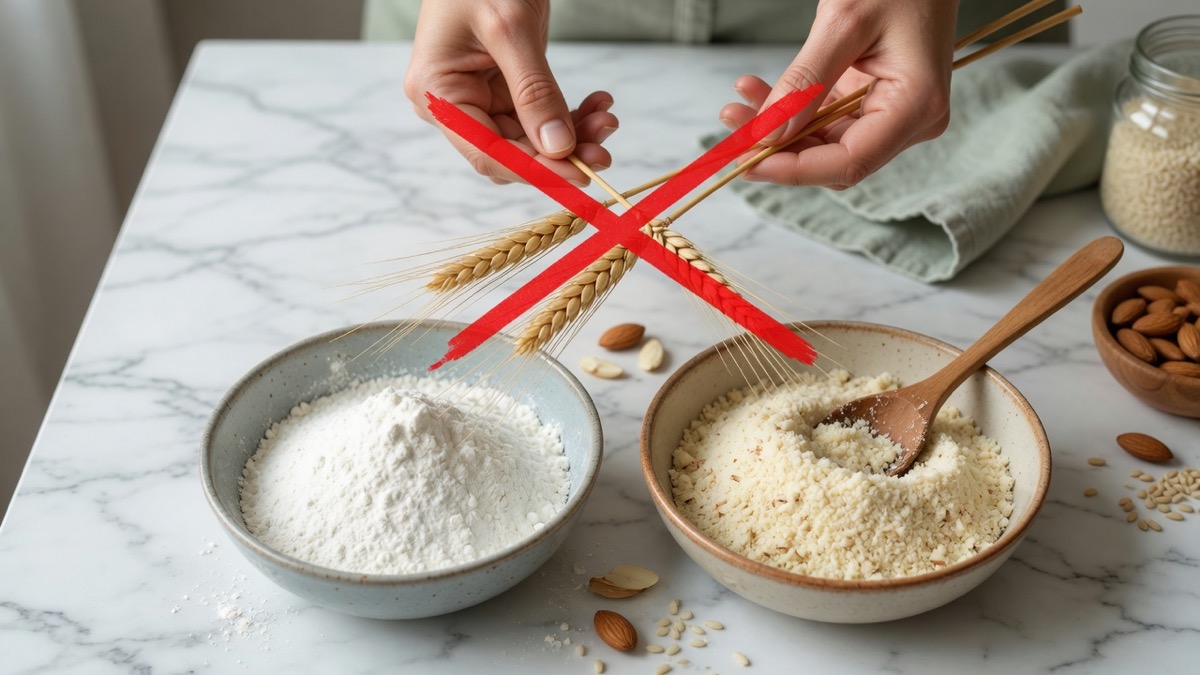
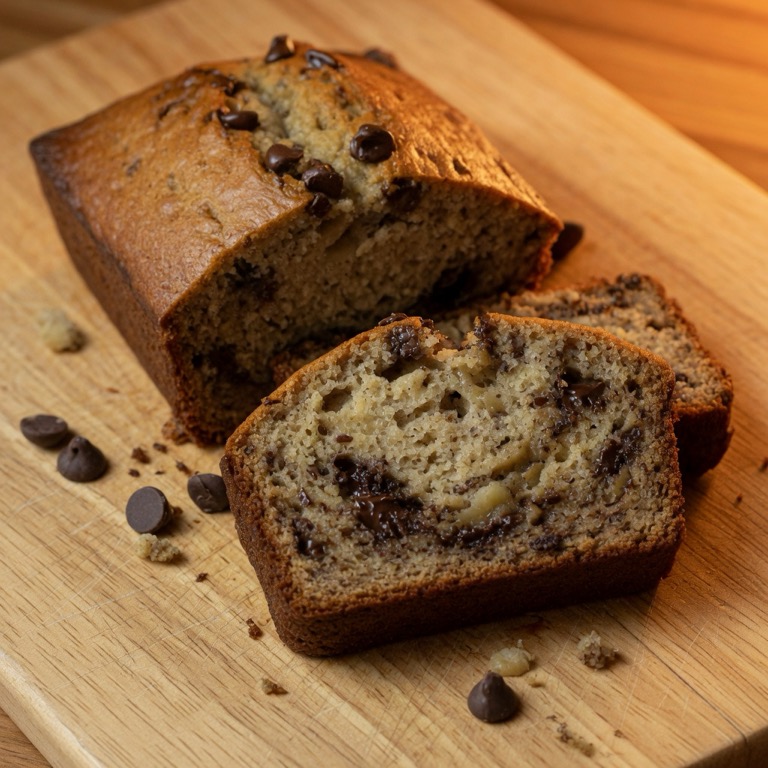
Ever bitten into a gluten-free cookie that felt more like a cracker? Or maybe a GF loaf that crumbled into a heap of sadness? You’re not alone. For years, many of us navigated the gluten-free world with a mix of hope and trepidation, often ending up with dense, dry, or otherwise disappointing bakes.
But guess what? Those days are largely behind us. We’ve cracked the code! The secret? It’s all in the blend. Think of it like a master chef assembling the perfect spice mix, or an artist mixing colors for a masterpiece. You wouldn’t paint a whole landscape with just one shade of blue, right? The same goes for gluten-free baking. It’s about understanding what each flour brings to the party and how they dance together to create pure deliciousness. This blend game is where the true Research & Innovations in Gluten-Free shine brightest.
Why Single GF Flours Just Don’t Cut It
Here’s the deal: gluten isn’t just some evil villain we’re trying to escape. In traditional baking, it’s a superhero. It forms a stretchy, elastic network that traps gases (hello, rise!) and gives baked goods their structure, chew, and bounce. Wheat flour, with its beautiful gluten proteins, does all this in one neat package.
When you take gluten out, you’re not just removing one ingredient; you’re taking away a whole team of functions. A single GF flour, say almond flour or rice flour, just can’t replicate that complex performance on its own. Almond flour is amazing, but it’s mostly protein and fat; it won’t give you that airy structure. Rice flour can be gritty and dry. Potato starch makes things light, but it’s too soft alone. Each has its strengths. Each has its weaknesses.
Trying to swap one-for-one with a single GF flour is like asking a solo banjo player to perform a symphony. It’s just not going to hit the same notes. We need an orchestra!
Decoding the Gluten-Free Flour Playbook
The magic happens when we combine different flours, letting their individual superpowers fill the gaps left by gluten. Let’s break down the main categories:
The Structure & Protein Players (The Backbone)
- Sorghum Flour: Mild, slightly sweet, and relatively high in protein. It gives a tender crumb and lovely structure. Plus, it’s a whole grain!
- Millet Flour: Another fantastic whole grain. Earthy, slightly nutty, and contributes good structure and a nice golden color.
- Oat Flour (Certified GF): Offers a mild, creamy flavor and helps with tenderness. Great for cookies and quick breads. Make sure it’s certified GF to avoid cross-contamination.
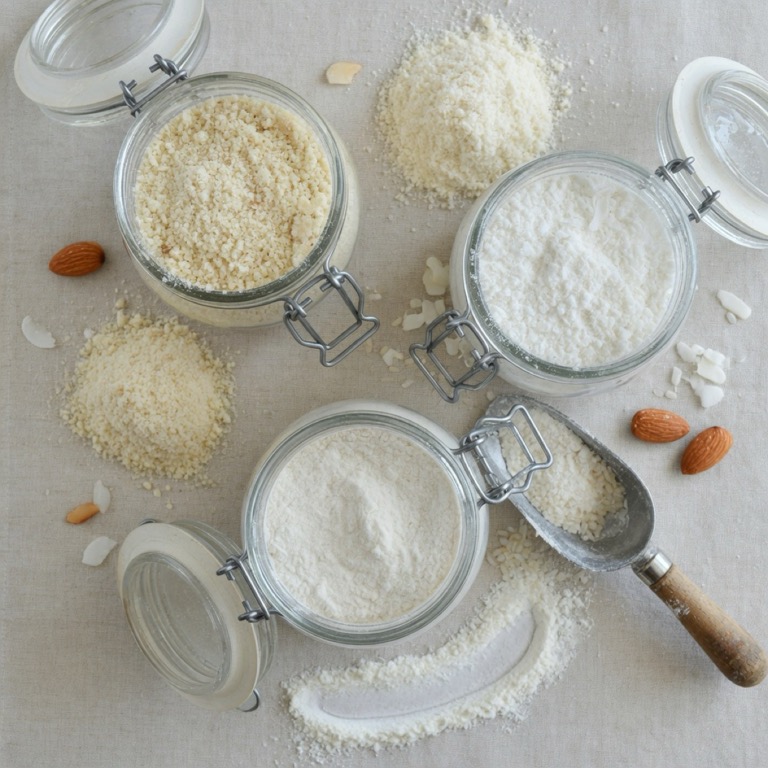
- Almond Flour: Rich in protein and healthy fats. It adds moisture, richness, and a fantastic flavor, especially for cakes and cookies. It’s not great for structure on its own, but it’s a brilliant supporting act.
- Teff Flour: A tiny ancient grain, packed with nutrients and a distinct earthy, molasses-like flavor. Excellent for adding structure and depth to breads.
The Starchy & Binding Crew (The Lightness & Stretch)
- Tapioca Starch (or Tapioca Flour): This is your elasticity hero. It provides chewiness and stretch, helping to mimic gluten’s texture. Think soft rolls, chewy cookies. It’s also fantastic for thickening.
- Potato Starch (NOT Potato Flour): Creates a wonderfully light, fluffy texture. Essential for delicate cakes and pastries. Use it sparingly, as too much can make things gummy.
- Corn Starch: Similar to potato starch, it brings lightness and tenderness. A common workhorse in many blends.
- White Rice Flour: Very neutral in flavor, it’s a good filler flour. It can be a bit gritty on its own, so it’s best when balanced with other flours.
- Sweet Rice Flour (Mochiko Flour): Don’t confuse it with white rice flour! This sticky, starchy flour is a game-changer for chewiness, especially in mochi-like desserts and some bread recipes. A real MVP for elasticity.
The Flavor & Absorbency Stars (The Character)
- Brown Rice Flour: A whole grain option, it adds nutrients and a slightly nutty flavor. Can be a bit gritty and absorbent, so it needs buddies.
- Buckwheat Flour: Despite the name, it’s not related to wheat! It’s a fruit seed, a pseudo-cereal. It has a robust, earthy flavor that’s wonderful in pancakes, blinis, and certain breads. A little goes a long way.
- Coconut Flour: Highly absorbent and dense. It brings a unique, subtle sweetness and lots of fiber. You only need a small amount, often just 1/4 to 1/3 of what you’d use for other flours, because it soaks up liquids like a sponge.
The Gluten Glue (Hydrocolloids)
These aren’t flours, but they are absolutely essential. Think of them as the duct tape or superglue of GF baking. They create that sticky, cohesive texture that gluten normally provides.
- Xanthan Gum: Our most common helper. It provides elasticity and helps prevent crumbling. For most recipes, you’ll use a tiny amount (like 1/4 to 1 teaspoon per cup of flour blend, depending on the bake).
- Guar Gum: Works similarly to xanthan, often used interchangeably or in combination. Some bakers prefer it for specific textures.
- Psyllium Husk (powdered): Especially powerful in yeast-leavened breads. It’s a fiber powerhouse that adds structure and helps create that wonderful, chewy bread-like crumb. If you’re really getting into Innovations in Gluten-Free Bread Texture, psyllium is your friend.
The Golden Rules of Blending: Your Kitchen Chemistry Set
Alright, so how do you put this orchestra together? While there’s no single “perfect” blend for everything, a great starting point is to think in ratios. A good general-purpose blend often looks something like this:
- 40-60% Whole Grain/Protein Flours: This includes sorghum, millet, brown rice, oat, teff. These bring flavor, nutrients, and some structure.
- 30-40% Starchy Flours: Tapioca, potato, corn, white rice, sweet rice. These are for lightness, tenderness, and that crucial chew.
- 5-10% “Specialty” or Flavor Flours: Almond, coconut, buckwheat (use sparingly!). These add richness, moisture, and unique flavor profiles.
And then, of course, add your chosen gum (xanthan or guar) or psyllium husk according to the recipe or your experimentation.
Let’s Look at a Practical Example: The All-Purpose Workhorse Blend
Here’s a blend I love that works well for many muffins, cookies, and quick breads:
- 1 cup (120g) Brown Rice Flour
- 1 cup (120g) Sorghum Flour
- 1/2 cup (60g) White Rice Flour
- 1/2 cup (60g) Tapioca Starch
- 1/4 cup (30g) Potato Starch
- 1 tsp Xanthan Gum (mix into the blend)
This blend combines whole grains for nutrition and flavor, starches for lightness and stretch, and a touch of gum for cohesion. It’s a beautiful balance!
Tailoring Your Blend to the Bake
The beauty of blending is that you can adjust it for what you’re making:
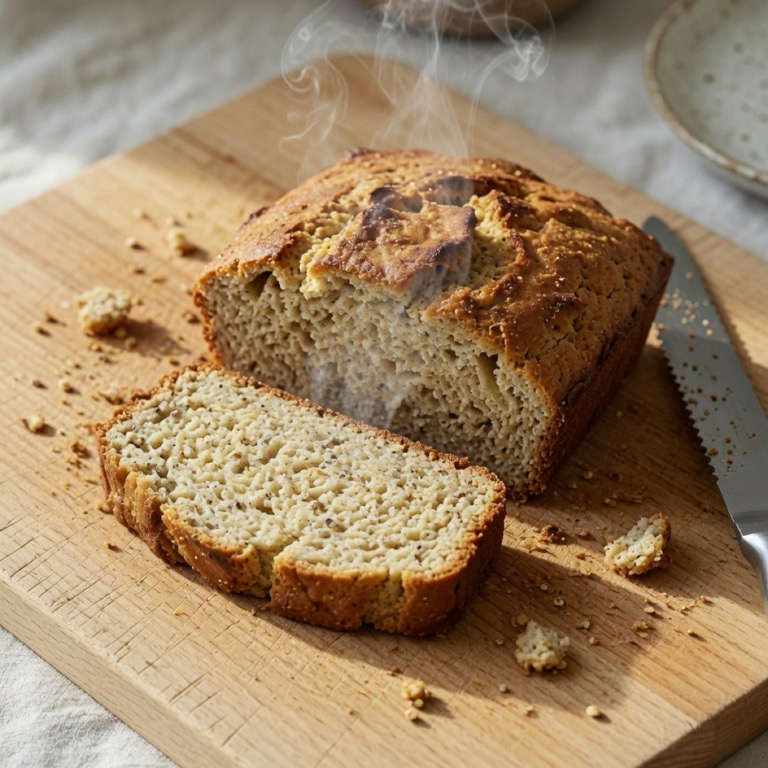
- For Bouncy Breads: You’ll want more protein flours (sorghum, millet, teff), plus a generous amount of tapioca starch for elasticity, and definitely psyllium husk or more xanthan gum. You need that extra structure to stand up to yeast.
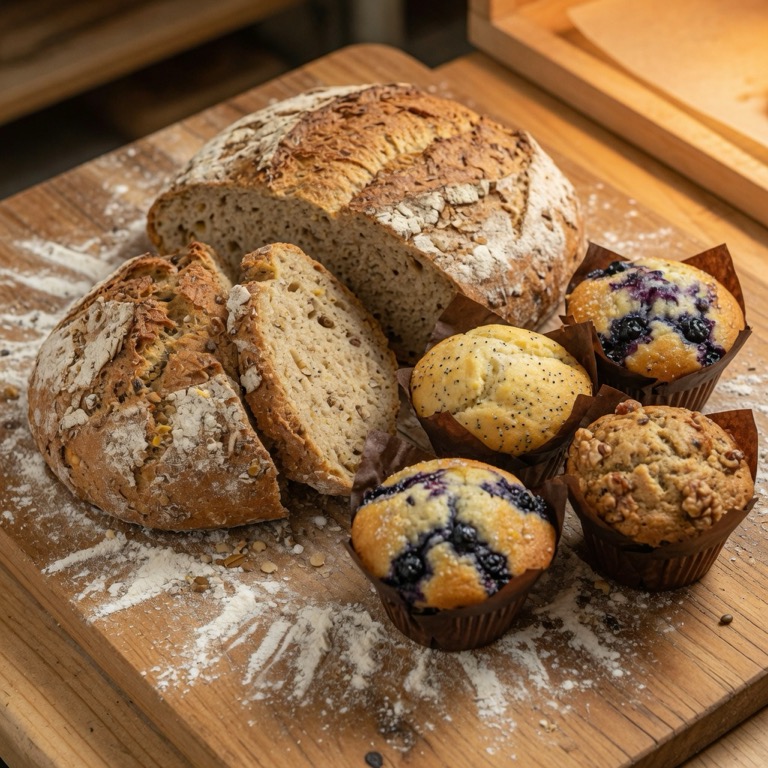
- For Tender Cakes & Muffins: Lean into the starches (potato starch, tapioca) for lightness and a softer crumb. Almond flour adds moisture and richness. Sorghum and white rice flour provide a neutral base.
- For Chewy Cookies: Sweet rice flour and tapioca starch are your friends here for that signature chew. Brown rice flour can add some structure and flavor.
- For Flaky Pastries: A combination of a lighter protein flour like sorghum, mixed with generous amounts of potato and tapioca starches, can yield that tender, melt-in-your-mouth texture. Keeping the fat cold is also key, just like traditional pastry.
Every flour has a personality. When you combine them, you’re creating a symphony of textures and flavors. For example, the grittiness of brown rice flour can be smoothed out by the silky texture of tapioca starch. The slight bitterness of buckwheat finds a balance with the sweetness of sorghum. It’s like a delicious puzzle!
Tips for Your Blending Journey
- Weigh, Don’t Measure by Volume: Flours vary wildly in density. A cup of almond flour weighs differently than a cup of tapioca starch. For consistent, repeatable results, invest in a kitchen scale. It’s truly a game-changer. (Weights are more accurate than volume for baking, similar to how precise measurements matter for leavening agents.)
- Sift Your Blend: After mixing your flours and gum, sift them together thoroughly. This ensures even distribution of all ingredients and helps aerate the flour.
- Store Properly: Keep your custom blends in an airtight container in a cool, dark place. Whole grain flours can go rancid faster, so consider the fridge or freezer for long-term storage, especially in warmer climates.
- Start with a Recipe: Don’t feel pressured to invent your own blend from scratch immediately. Find a trusted GF recipe that uses a blend and experiment with slight modifications. Once you understand the baseline, you can get creative.
Learning the science of gluten-free flours might sound intimidating, but it’s actually incredibly liberating. It transforms baking from a guessing game into an exciting culinary adventure. You’re not just following instructions; you’re becoming a food scientist in your own kitchen!
So, go forth and blend! Experiment. Taste. Discover. The world of gluten-free baking is abundant with delicious possibilities when you understand the magic that happens when flours come together. You’ve got this, GF friend. Happy baking!
To deepen your understanding of the components in various gluten-free flours and their nutritional profiles, you might find valuable information from educational institutions specializing in food science. For instance, universities with strong agricultural or food science departments often publish research on grain properties and their applications in baking. (Purdue University’s Department of Food Science, for example, explores cereal grain science.)