The Ultimate Guide to Gluten-Free Flour Blends (2026)

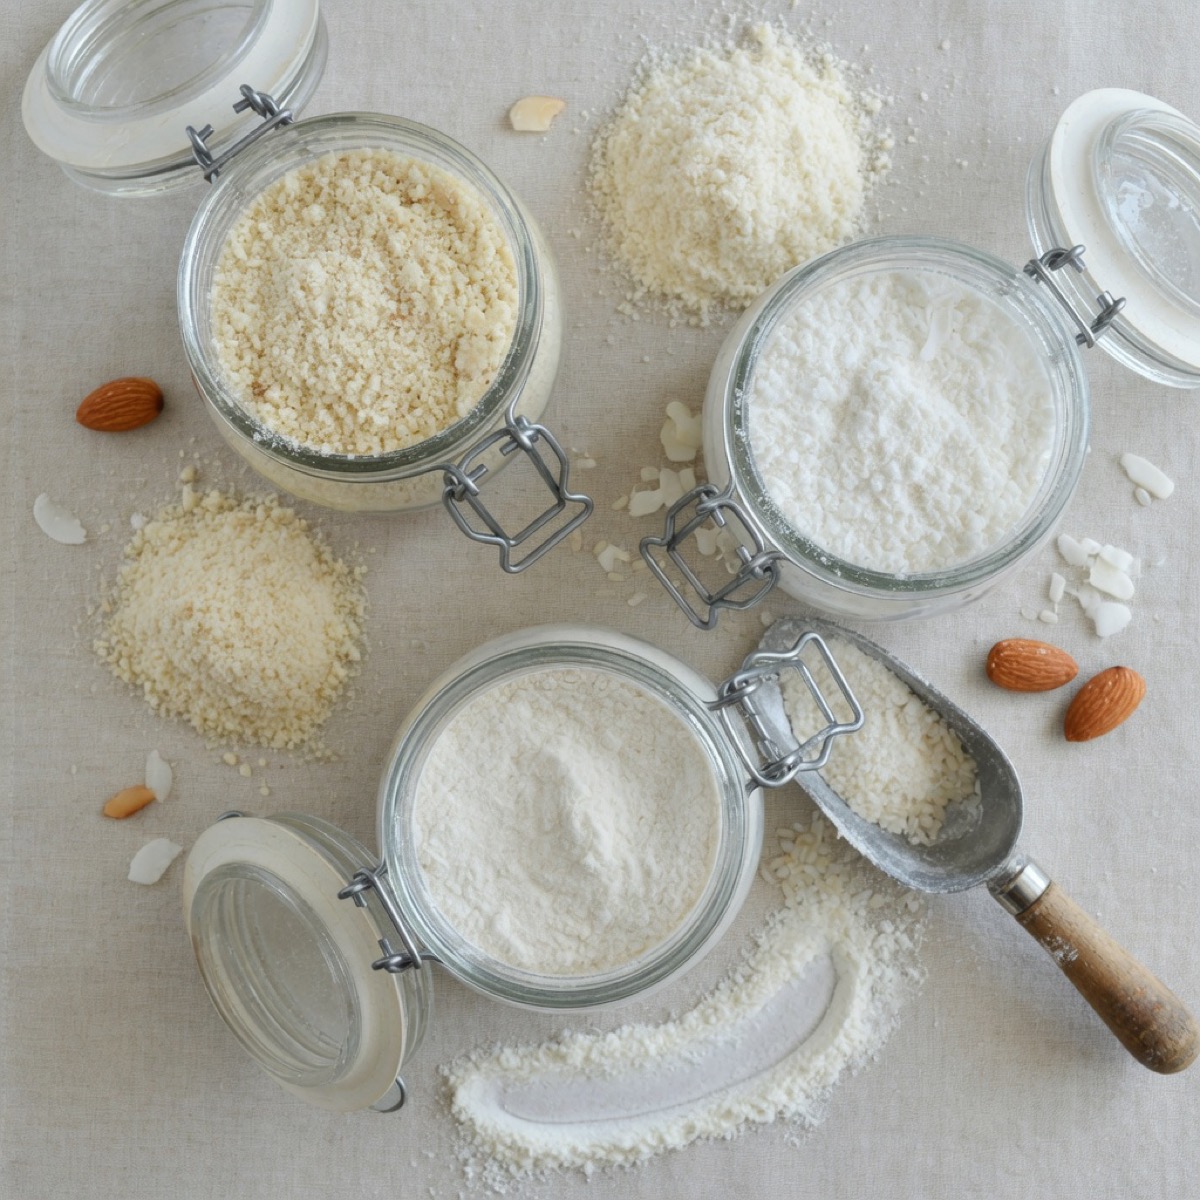
Alright, my amazing gluten-free crew! Let’s get real for a moment. You want to bake. You want to create those chewy cookies, that fluffy cake, or that perfectly crusty bread, right? You want to savor every single bite, just like everyone else. And guess what? You absolutely can! The secret handshake to unlocking this delicious world? It’s all about the flour.
Forget everything you thought you knew about gluten-free baking being difficult or bland. That’s old news, dusty and frankly, wrong. We’re in 2026, and the GF game has changed. The real magic, the foundational element that brings it all together, is understanding flour blends. Think of a fantastic band: you don’t just have a drummer, do you? You need a guitarist, a bassist, a vocalist – all working in harmony. Gluten-free flours are exactly the same. They need to come together as a team.
This isn’t just about throwing a bunch of different flours into a bowl. Oh no. This is about intention, about understanding what each player brings to the stage. It’s about creating balance, texture, and flavor. And that, my friend, is what we’re diving into today. Consider this your ultimate guide to mastering those glorious gluten-free flour blends, the very heart of successful GF baking. Ready to become a baking maestro? Let’s get mixing! For more on getting your pantry ready for all this deliciousness, check out our guide on Gluten-Free Baking Essentials.
Why Single Flours Just Don’t Cut It (And Why Blends Are Your Best Friend)
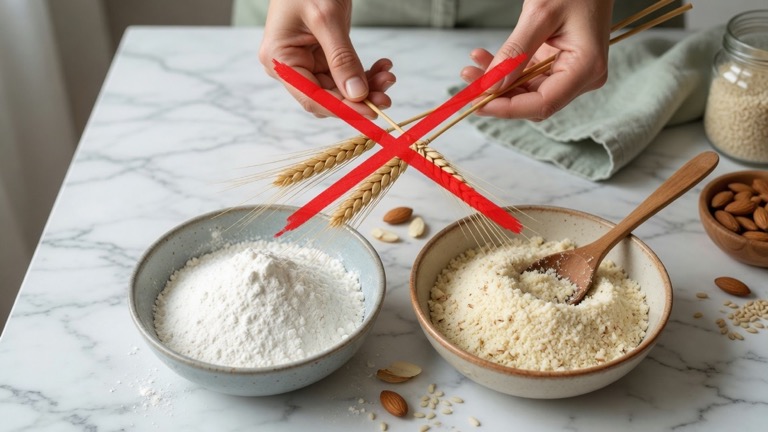
When you bake with traditional wheat flour, you’re getting a complete package. It has gluten, a protein network that provides elasticity, structure, and that satisfying chew. Without it, GF flours are like a puzzle missing a crucial piece. A single gluten-free flour, say rice flour, might make your cookies crumbly. Buckwheat flour on its own? Too dense, too earthy. They lack the elasticity and structure that gluten offers.
That’s where blends step in. We combine different flours and starches, each with its own superpower, to mimic the properties of wheat flour. It’s a strategic alliance, a delicious partnership designed to give you that perfect rise, that tender crumb, and that oh-so-important chew. You’re building a multi-talented team, essentially. This is baking science, made simple and totally delicious.
The Star Players: Understanding Your Gluten-Free Flours
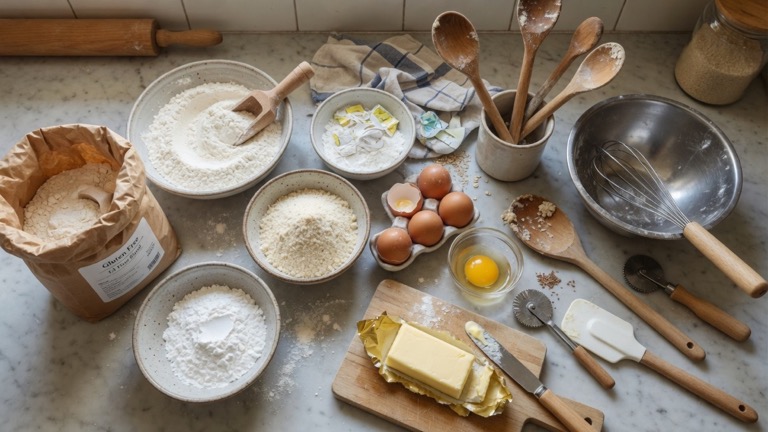
To create the ultimate blend, you need to know your ingredients. Each flour family brings something unique to the party. Let’s meet the main characters:
The Structural Heroes (Whole Grain Flours)
These flours provide body, nutrients, and often a lovely flavor. They are the backbone of your blend.
- Brown Rice Flour: A classic. Mild flavor, good structure. Can be a bit gritty if not finely ground, so look for “superfine.” It’s reliable.
- Sorghum Flour: A personal favorite. Light texture, slightly sweet, with a wonderfully mild flavor. It’s truly versatile.
- Millet Flour: Offers a delicate, slightly nutty taste and a fine texture. Great for cakes and quick breads.
- Oat Flour (Certified GF): If you tolerate oats, this one is fantastic for adding chewiness and a lovely, wholesome flavor. Make sure it’s certified gluten-free to avoid cross-contamination.
- Buckwheat Flour: Don’t let the name fool you, it’s not wheat! This gives a distinct, earthy flavor. Use it for things like pancakes or rustic breads.
The Smooth Operators (Starches)
Starches are crucial for binding, moisture retention, and achieving that desirable elasticity and chewiness. They prevent your baked goods from becoming dry and crumbly. For an even deeper dive into some of these, take a peek at our post on Tapioca Starch and Arrowroot Powder: GF Thickeners and Texturizers.
- Tapioca Starch (or Flour): Gives chewiness and helps with browning. It’s fantastic for crusts and breads.
- Potato Starch: Creates a light, tender crumb. Often used for cakes and pastries. Not to be confused with potato flour (which is heavier).
- Corn Starch: A great thickener and tenderizer. Very common in many blends.
- Arrowroot Powder: Similar to tapioca, offering a lovely silky texture and binding power.
The Flavor & Fiber Boosters (Nut/Legume/Seed Flours)
These bring unique flavors, added nutrients, and can enhance texture.
- Almond Flour: Rich, moist, and low-carb. Adds a delicate nuttiness. Best for cookies, cakes, and quick breads.
- Coconut Flour: Highly absorbent, high in fiber. Use sparingly! It gives a distinct coconut flavor and a soft crumb.
- Teff Flour: A tiny grain with a robust, earthy, slightly malty flavor. Great in darker baked goods or breads.
- Quinoa Flour: Stronger flavor, but very nutritious. Use in small amounts or pair with stronger flavors.
DIY vs. Store-Bought Blends: Your Flour Journey
Store-Bought Blends: The Convenience Factor
Many fantastic, pre-made gluten-free flour blends are on the market now. They are a great starting point, especially when you’re just dipping your toes into GF baking. Grab a “cup-for-cup” style blend, and often you can swap it directly into your favorite non-GF recipes. It’s wonderfully easy. Just be sure to check the ingredient list. Some include xanthan gum, which is a big plus, while others might not. If your blend doesn’t have it, you’ll need to add it separately (more on that in a sec).
The downside? They can be pricier. Plus, you have less control over the specific ratios and types of flours, which means less customization for different baking projects. But for ease, they simply can’t be beat.
Crafting Your Own Masterpiece: The DIY Approach
This is where the real fun begins! Making your own blend gives you total control. You can tailor it to specific recipes (like a blend for chewy cookies vs. fluffy pancakes) and save some money in the long run. It does require a bit more initial effort, but the payoff is huge.
The general rule of thumb for a good all-purpose gluten-free flour blend is a ratio of roughly 60-70% whole grain flours to 30-40% starches. This balance provides both structure and tenderness.
The Magic Dust: Xanthan Gum
You’ll often see this ingredient in GF recipes or blends. Xanthan gum is like the invisible helper, the gluten substitute. It’s a natural gum that provides elasticity and helps bind ingredients, preventing your baked goods from becoming crumbly. Think of it as the sticky glue that gluten would normally provide.
A little goes a long way! For most recipes, you’ll use about 1/4 teaspoon per cup of GF flour blend for cookies and cakes, and up to 1/2 or 3/4 teaspoon per cup for breads and pizza crusts. Too much xanthan gum can make things gummy or slimy, so measure carefully!
My Go-To All-Purpose GF Flour Blend Formula (A Starting Point)
Here’s a fantastic blend to get you started. This is what I often recommend for everyday baking, from muffins to quick breads. Adjust based on your preferences!
For a batch of about 5 cups of blend:
- 2 cups Superfine Brown Rice Flour: The reliable workhorse.
- 1.5 cups Sorghum Flour: For that light texture and mild flavor.
- 1 cup Tapioca Starch: To add chew and crispness.
- 0.5 cup Potato Starch: For tenderness and a fluffy crumb.
- 2 teaspoons Xanthan Gum: Our binding hero.
Whisk everything together thoroughly. Store it in an airtight container in a cool, dark pantry for several months, or in the fridge/freezer for longer freshness.
Tips for Gluten-Free Flour Blend Success
Ready to nail every GF bake? Here are some pro tips:
- Weigh, Don’t Measure by Volume: Seriously, this is huge. Flours vary in density. A cup of one GF flour can weigh differently than a cup of another. Using a kitchen scale (grams are best) ensures accuracy. This alone can solve so many issues!
- Mix Thoroughly: When creating your own blend, whisk everything together really well. You want an even distribution of all those star players.
- Adjusting for Moisture: GF flours can be thirsty! Pay attention to your batter consistency. You might need to add a touch more liquid (milk, water, applesauce) to achieve the right texture. This is a common adjustment.
- Give it a Rest: Sometimes, letting your batter or dough rest for 15-30 minutes before baking allows the flours to hydrate properly, leading to a better final texture.
- Don’t Be Afraid to Experiment: You might find you love a touch of almond flour for richness, or a bit of teff for a more robust flavor. Play around!
Troubleshooting Common GF Baking Hiccups
Even with the perfect blend, sometimes things go a little sideways. It’s okay! We learn as we go. If your bakes are too crumbly, you might need more starch or xanthan gum, or perhaps more liquid. Too gummy? You might have too much xanthan gum or not enough whole grain flour. These are classic signs. Understanding these issues is half the battle, and honestly, we’ve all been there. If you find yourself consistently facing challenges, remember that many common issues have simple fixes. Head over to our guide on Common Gluten-Free Baking Mistakes and How to Fix Them for a deeper dive into troubleshooting.
Remember, baking is a journey, not a destination. And with GF baking, it’s an incredibly rewarding journey. You’re not just making food; you’re creating joy, confidence, and delicious memories for yourself and your loved ones. The world of gluten-free flour blends is an exciting one, full of possibilities. Once you understand the basics, you’ll feel empowered to tackle any recipe with enthusiasm and a smile.
So, grab your whisk, get those flours ready, and start blending! Your next amazing gluten-free creation is just a mix away. You’ve got this, and it’s going to be absolutely delicious. For even more insights and tips to keep your GF kitchen thriving, revisit our comprehensive resource on Gluten-Free Baking Essentials. Happy baking!
Sources:
King Arthur Baking Company – Understanding Gluten-Free Flour Blends
Wikipedia – Xanthan Gum