The Importance of Measuring by Weight in Gluten-Free Baking (2026)

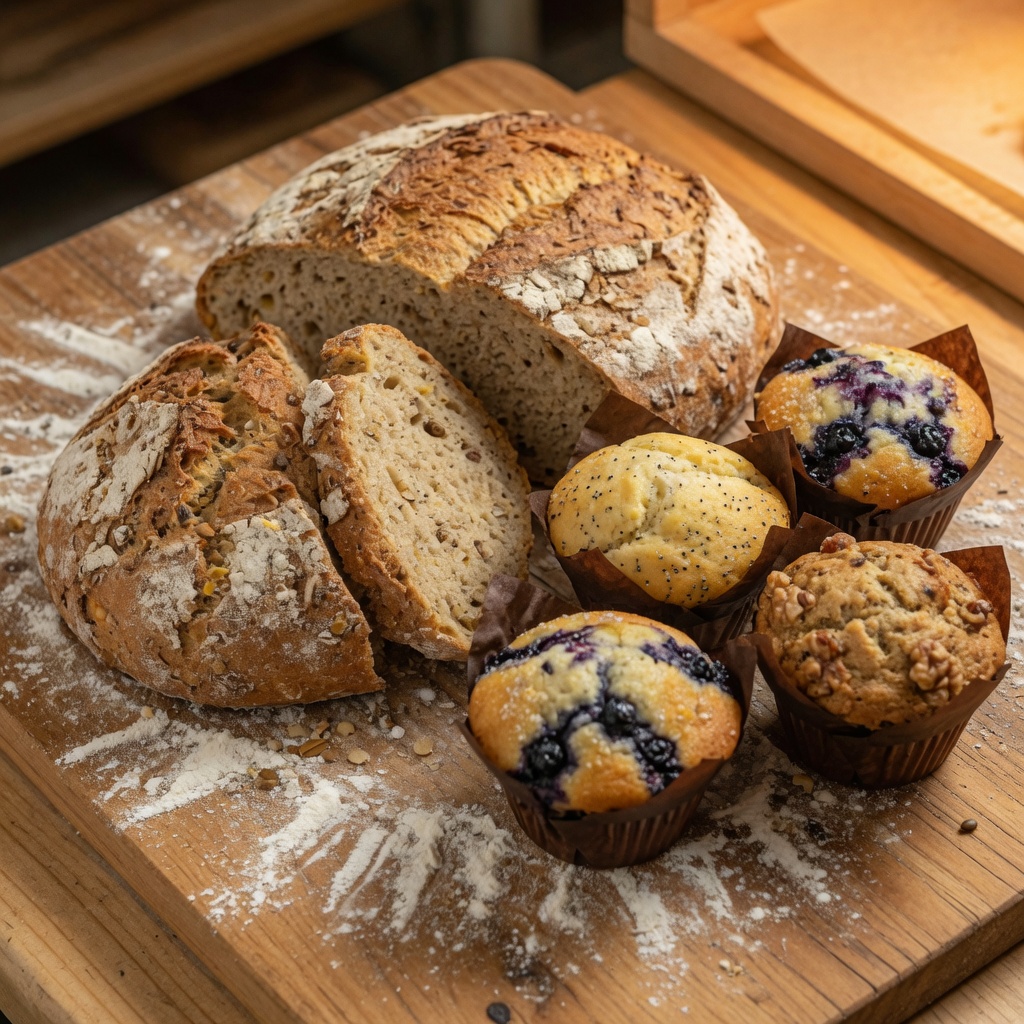
Friends, fellow GF bakers, can we talk for a minute? We’re all on this amazing journey of discovering incredible gluten-free deliciousness. We’ve learned about amazing flours, clever binders, and the magic of a well-balanced blend. But there’s one secret ingredient, one foundational step, that can truly transform your baking from “pretty good” to “absolutely phenomenal” every single time. And it’s not something you eat. It’s how you measure.
I’m talking about measuring by weight, not volume.
Think of it like building a beautiful house. You wouldn’t just eyeball the amount of cement or cut your lumber without a tape measure, right? You want precision. You need that sturdy, reliable foundation. For us GF bakers, our ingredients are our building blocks. And because gluten-free flours behave so differently from their gluten-containing cousins, precision isn’t just nice to have. It’s absolutely essential. It’s the difference between a sad, crumbly muffin and a perfectly moist, fluffy treat. It’s truly a cornerstone of Gluten-Free Baking Essentials.
Why GF Baking Demands Precision (More Than You Think!)
Okay, let’s get real for a second. Gluten, that stretchy protein we avoid, is like the universal binder in traditional baking. It’s forgiving. It allows for a little wiggle room if you’re slightly off on your flour or liquid measurements. It creates a flexible network, making the dough adaptable.
Gluten-free baking? Not so much.
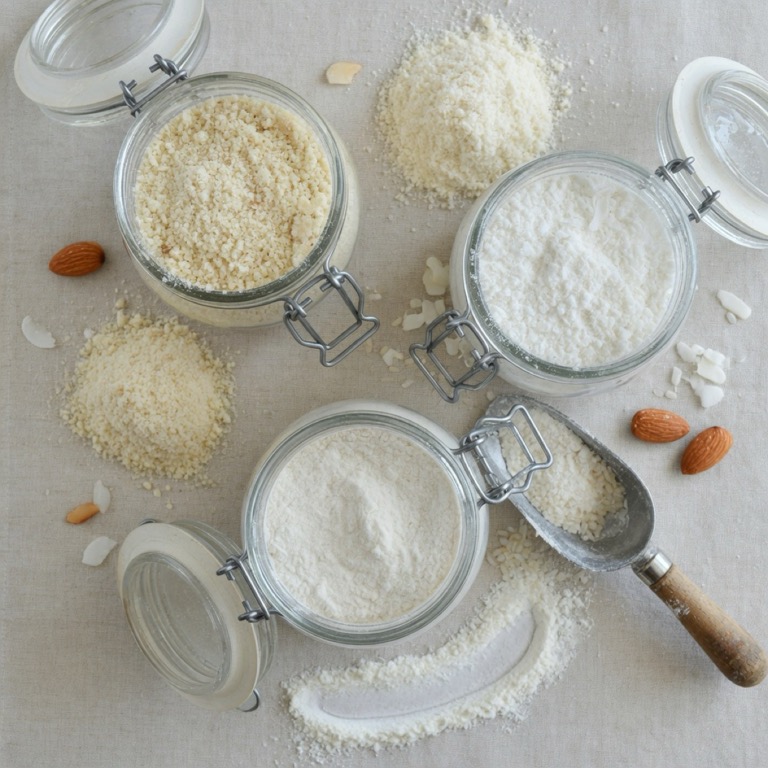
Our flours are a diverse bunch. We’re talking rice flour, tapioca starch, almond flour, sorghum, millet, and more. Each has its own unique personality, its own moisture absorption, its own density. They don’t have that built-in safety net. There’s no elastic gluten to smooth over inconsistencies. This means that if your recipe calls for, say, “one cup of flour,” that “cup” could be a totally different amount of actual flour depending on how you scoop it.
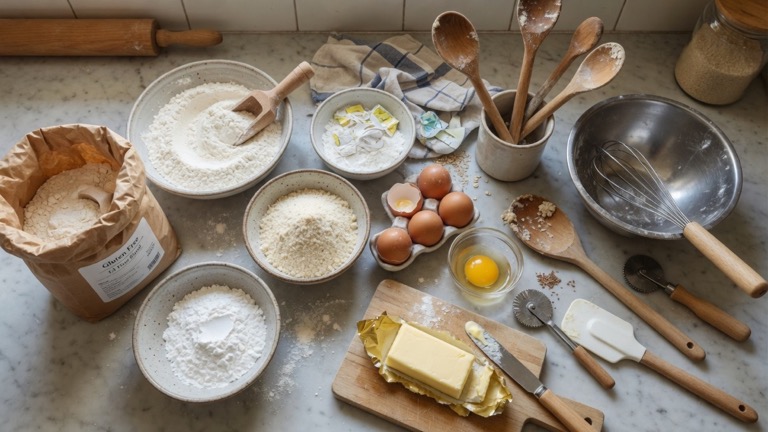
Imagine a group of friends trying to make a cake. One friend lightly spoons flour into a cup, levels it with a knife. Another friend dives their cup right into the flour bag, packing it down firmly. The third friend shakes the cup to settle the flour, then adds more. All three “one cups” will contain vastly different amounts of flour by weight. This is a huge problem for us. Too much flour means dry, dense, crumbly baked goods. Too little? Gummy, wet, or collapsed disasters. We’ve all been there, right?
The “Scoop and Level” Myth: A Tale of Inconsistency
Let’s dig into this “one cup” conundrum. It sounds simple. You grab a measuring cup, you scoop, you level. Done. Right?
Wrong.
A cup of all-purpose wheat flour can weigh anywhere from 120 grams to 150 grams, depending on how it’s scooped. That’s a 25% variation! Now, apply that variability to delicate gluten-free flours, which often have even more varied densities. A cup of light, airy tapioca starch will weigh significantly less than a cup of finely ground almond flour. Yet, if a recipe just says “1 cup GF flour blend,” what does that even mean? It’s a recipe for frustration.
This inconsistency directly impacts the flour-to-liquid ratio, which is absolutely critical for GF baking success. A tiny shift here can make or break your cookies, cakes, or breads. You want your chocolate chip cookies to be chewy, not brick-hard. You want your sandwich bread to rise beautifully, not be a dense, heavy puck. The solution is simple. It’s elegant. It’s your kitchen scale.
Meet Your New Best Friend: The Digital Kitchen Scale
If you haven’t already, it’s time to invest in a simple digital kitchen scale. They are inexpensive, easy to use, and a total game-changer. Seriously, this little gadget will be the MVP of your GF kitchen.
What does it do? It measures ingredients by weight, usually in grams or ounces. And unlike volume, weight is absolute. A gram of flour is always a gram of flour, no matter how you scoop it, sift it, or pack it.
Why a Scale is a GF Baker’s Secret Weapon:
- Unmatched Accuracy: This is the big one. Your recipes will be consistent every single time. No more guessing if you have too much or too little flour.
- Perfect Texture: Achieving that ideal flour-to-liquid ratio means perfectly textured cakes, cookies, and breads. Say goodbye to dry, crumbly, or gummy fails.
- Less Mess, Easier Cleanup: You can often weigh multiple ingredients into the same bowl. Just hit the “tare” button (which zeros out the scale) between each addition. Fewer measuring cups means fewer dishes!
- Easier Recipe Scaling: Want to double a recipe? Halve it? It’s far simpler and more accurate to multiply or divide weights than trying to perfectly halve 3/4 of a cup by volume.
- Mastering New Flours: As you experiment with different GF flours (and you totally should!), understanding their weight helps you adjust recipes with confidence. Check out our The Ultimate Guide to Gluten-Free Flour Blends for more on this!
Understanding Specificity: Not All Flours Are Created Equal (by Volume)
Here’s where it gets really clear. Imagine you have a recipe that calls for “1 cup of GF flour.” What if that recipe writer primarily bakes with a light rice flour blend, but you’re using a denser almond flour blend? Big trouble.
Let’s look at some common GF flours and their approximate weights per cup, just to show you the wild differences. Keep in mind these are averages, and brands can vary slightly:
| Gluten-Free Flour/Starch | Approximate Weight per Cup (grams) |
|---|---|
| Almond Flour (finely ground) | 96 – 110 grams |
| White Rice Flour | 140 – 160 grams |
| Brown Rice Flour | 120 – 130 grams |
| Tapioca Starch/Flour | 110 – 120 grams |
| Potato Starch | 140 – 150 grams |
| Sorghum Flour | 115 – 125 grams |
| Oat Flour | 90 – 100 grams |
| Gluten-Free All-Purpose Blend | 120 – 140 grams (varies wildly by brand!) |
This table clearly illustrates the problem. If a recipe assumes “1 cup” is 120g of a lighter flour, but your dense almond flour clocks in at 100g per cup (or even less if not packed well), your recipe is off from the start. This makes a huge difference in how much liquid your batter can absorb, affecting everything from spread to chewiness. Imagine a cookie that calls for 1 cup of flour, assuming 140g. If you use 96g of almond flour, that’s nearly a 30% reduction in dry ingredients! The result? A puddle, not a cookie.
The bottom line? When a recipe provides weights, use them. If it doesn’t, try to find a reliable conversion chart or search for similar recipes that do provide weights. Many reputable GF bakers now include weight measurements in their recipes, which is a fantastic trend!
The (Simple) Science of Success
At its heart, baking is chemistry. And just like any good science experiment, accuracy is key. When you measure by weight, you control the hydration. This is particularly crucial in GF baking because our flours don’t develop gluten, which means they don’t have that natural structure. We rely on other ingredients, like eggs, gums (hello, Xanthan Gum vs. Guar Gum!), and precise flour ratios, to build that structure.
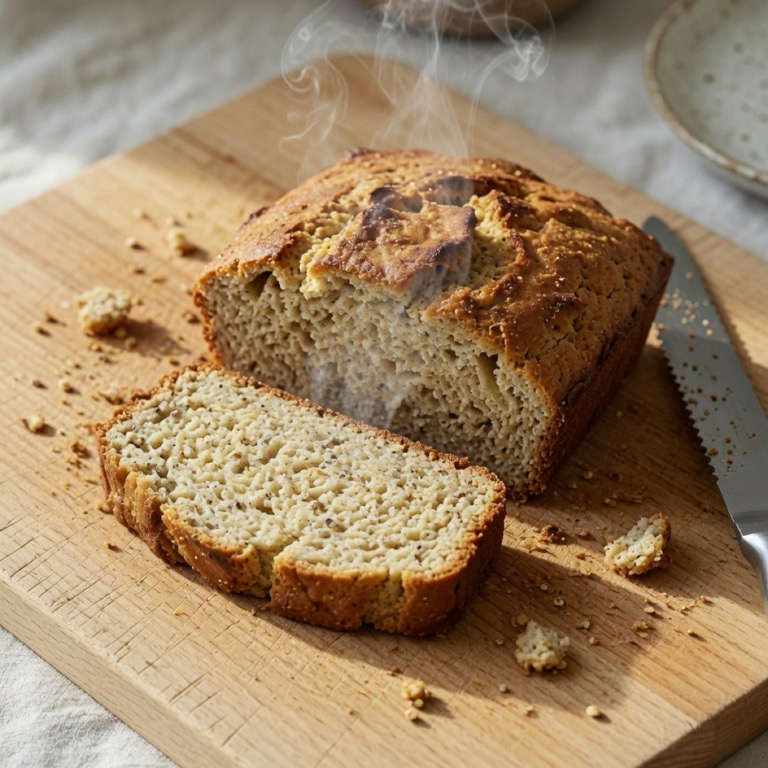
A perfectly balanced hydration level means your muffins will be soft and tender, your bread will have a beautiful crumb, and your pie crust will be flaky, not brittle. It’s all about creating the optimal environment for your ingredients to work together harmoniously. When your measurements are precise, your ingredients cooperate beautifully. It’s like everyone in the orchestra playing the same notes at the same tempo. Pure harmony!
Practical Tips for Getting Started
Switching to weight-based measuring is super easy:
1. **Get a Scale:** You can find reliable digital kitchen scales online or in most stores for around $15-30. Make sure it has a “tare” function and can switch between grams and ounces.
2. **Read the Recipe Carefully:** Look for recipes that provide both volume and weight measurements. Prioritize the weight measurements. If a recipe only gives volume, consider finding a similar one that includes weights, or consult a reliable online conversion chart (though this can introduce slight inaccuracies if the flour type isn’t specified).
3. **Tare It Out:** Place your mixing bowl on the scale. Hit the “tare” or “zero” button. This subtracts the weight of the bowl.
4. Add Ingredients: Spoon or pour your first ingredient directly into the bowl until you hit the target weight. Hit “tare” again. Add the next ingredient. Repeat!
5. Don’t Fear the Conversion (If Necessary): If you have a beloved recipe that only uses volume, you can try converting it. Websites like King Arthur Baking’s ingredient weight chart or Wikipedia’s page on Baking by weight offer great resources. Just remember, these are guidelines, and specific GF flour blends can vary. It might take a little trial and error, but it’s worth it.
6. Practice Makes Perfect: Just like anything new, it might feel a little different at first. But you’ll quickly find it’s faster, cleaner, and much more reliable. Soon, you’ll be baking perfect batches of chewy Baking with Almond Flour: Tips for Moist and Delicious Gluten-Free Treats without a second thought.
Ditch the Guesswork, Embrace Deliciousness!
The myth that measuring by weight is “too much trouble” is just that: a myth. In reality, it saves you time, frustration, and wasted ingredients. It liberates you from the anxiety of “Is this going to work?” and ushers in an era of consistent, joyful GF baking.
Imagine pulling out a batch of perfectly golden cookies, or slicing into a moist, tender cake, knowing that every time you make it, it will be just as good. That’s the power of the kitchen scale. It’s not about being overly scientific or rigid. It’s about building confidence, eliminating variables, and ensuring that your efforts are rewarded with consistently delicious results.
So, let’s leave the measuring cups for liquid ingredients and embrace the precision of the kitchen scale for our dry goods. It’s a simple shift that will unlock a whole new world of gluten-free baking success and endless delicious possibilities. Happy baking, my friends! Go forth and create wonders. Your taste buds (and your baking triumphs) will thank you.
Ready to bake with confidence? Grab that scale and let’s get precise. Your next perfect GF treat is waiting! For more tips and tricks on mastering your GF kitchen, be sure to explore our full guide on Gluten-Free Baking Essentials.