Adapting Traditional Recipes for Gluten-Free Success (2026)

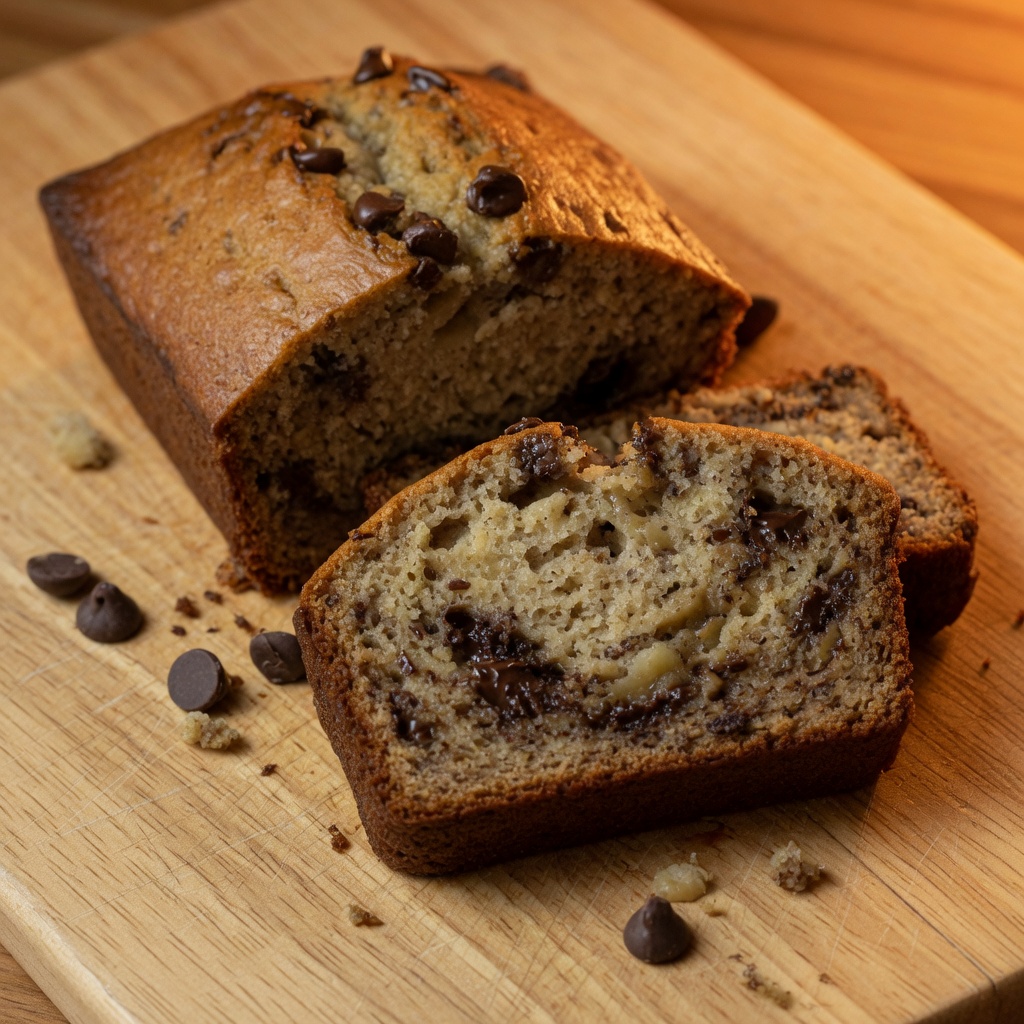
Remember that feeling? That pang of nostalgia when you see an old family recipe card, maybe for Grandma’s legendary chocolate chip cookies or your uncle’s famous sourdough, and you think, “Oh, if only I could still eat that!” Well, I’m here to tell you something wonderful: you absolutely *can* resurrect those culinary treasures. Adapting traditional recipes for gluten-free success isn’t just possible, it’s a delicious adventure waiting to happen.
I know, I know. The idea of messing with a cherished family recipe can feel like sacrilege. But think of it this way: you’re not replacing the magic; you’re simply giving it a fresh, GF glow. You’re preserving the heart of the dish, the flavors, the memories, for everyone to enjoy. And trust me, once you understand a few key principles, you’ll be an unstoppable force in the kitchen. If you’re looking for where to start with your GF baking journey, our Gluten-Free Baking Essentials guide is an excellent first stop.
The Gluten Gist: What We’re Replacing
Before we swap ingredients willy-nilly, let’s talk about gluten for a sec. What exactly does it *do* in those traditional recipes? Gluten, found in wheat, barley, and rye, is basically the scaffolding of your baked goods. It’s a protein that, when mixed with water, forms an elastic network. This network traps gases (hello, yeast!), giving bread its airy crumb and cakes their tender chewiness. It also provides structure and keeps things from crumbling into a sad pile of dust.
When you take gluten out, you’re not just removing an ingredient; you’re removing that structural superhero. So, our mission is to bring in new heroes, new ingredients, to perform those same crucial tasks. We need to create structure, provide elasticity (or at least a good chew), and ensure moisture. It’s like re-engineering a classic car with a modern, eco-friendly engine. Same look, same feel, different (and better!) power source.
Your GF Toolkit: Essential Swaps & Tricks
1. Flour Power: Beyond the 1:1 Myth
This is where many people hit a snag. They grab a “1:1 gluten-free flour” and expect miracles. Sometimes, it works okay. But often, it’s a recipe for disappointment. Why? Because those blends are designed to be generalists, not specialists. Different flours have different personalities, different absorption rates, and different protein structures.
Think of it like this: you wouldn’t expect a single-tool screwdriver to fix every problem in your house, right? GF baking is the same. You need a blend. A good blend usually combines:
- Structural Flours: Rice flour (brown or white), sorghum flour, millet flour. These give bulk and a delicate structure.
- Protein Flours: Almond flour, oat flour, often add flavor, richness, and some binding.
- Starches: Tapioca starch, potato starch, corn starch, arrowroot powder. These are your binders and tenderizers. They prevent dryness and add that lovely chew.
For a deep dive into mastering these magical powders, seriously check out The Ultimate Guide to Gluten-Free Flour Blends. It’s a total game-changer for understanding how to mix and match.
The Golden Rule: Start by replacing the amount of wheat flour with a good quality GF blend (not just one type of GF flour). Then, be prepared to adjust slightly.
2. The Binder Brigade: Gums and Starches
Since we’ve lost gluten’s binding power, we need to add it back. This is where gums and extra starches come in. Xanthan gum or guar gum are your secret weapons. They act like glue, preventing your baked goods from crumbling. You only need a tiny bit! Too much, and things can get gummy or slimy. Not what we’re going for.
A Quick Guide:
- For every cup of GF flour blend, add about 1/4 to 1/2 teaspoon of xanthan gum for cakes, muffins, and cookies.
- For yeasted breads, you might go up to 3/4 to 1 teaspoon per cup of flour.
And speaking of starches, don’t underestimate the power of Tapioca Starch and Arrowroot Powder: GF Thickeners and Texturizers. They do so much more than just thicken sauces; they bring that lovely elasticity and chewiness we crave in baked goods.
3. Moisture Matters: A Hydration Boost
Many GF flours are like tiny sponges. They absorb more liquid than wheat flour. This means traditional recipes can often come out dry and crumbly if you don’t adjust the moisture. The fix? Add a little extra liquid, fat, or even an extra egg.
- Liquid: Start by adding 1-2 tablespoons more milk, water, or buttermilk per cup of GF flour blend. You might need more! The batter should look a bit wetter than its gluten-full counterpart.
- Fats: Extra butter, oil, or applesauce can help keep things moist and tender.
- Eggs: Eggs add structure, moisture, and help bind. Sometimes adding an extra egg white (for lightness) or a whole egg (for richness) can make a big difference.
4. Leavening Lift: A Little Extra Oomph
Without gluten to trap gases efficiently, sometimes your baked goods need a little help rising. Consider adding an extra 1/4 teaspoon of baking powder or baking soda (depending on the recipe’s existing leaveners) to give it a boost. It’s like giving your batter a tiny trampoline!
5. The Scale Solution: Measuring by Weight
This isn’t just a “nice to have” in GF baking; it’s a non-negotiable for consistent success. Flours, especially GF ones, vary wildly in density. A cup of almond flour weighs differently than a cup of rice flour, which weighs differently than a cup of tapioca starch. Using volume measurements (cups) introduces huge inconsistencies.
An extra 20 grams of flour can completely change a recipe. Investing in a digital kitchen scale will be the best money you ever spend. Seriously, read up on The Importance of Measuring by Weight in Gluten-Free Baking. It’s crucial for getting professional-level results every time.
Adapting Specific Recipe Types
Cakes & Muffins: Your Sweet Spot for Success
These are often the easiest to convert.
- Swap Flour: Use a good GF all-purpose blend.
- Add Gum: 1/4 to 1/2 tsp xanthan gum per cup of flour.
- Moisture: Add 1-2 tablespoons extra liquid per cup of flour.
- Baking Time: GF cakes might bake slightly longer at a slightly lower temperature to prevent drying out. Watch for golden edges and a clean toothpick test.
Cookies: A Chewy Delight
Cookies are pretty forgiving!
- Flour Blend: Again, a reliable GF all-purpose blend is key.
- Gum: 1/4 tsp xanthan gum per cup of flour is usually enough.
- Chill Time: GF cookie dough often benefits from chilling. It helps the flours hydrate, prevents spreading, and improves texture. An hour in the fridge makes a big difference.
Breads & Yeasted Doughs: The Everest of GF Baking
Let’s be real, bread is the trickiest. Gluten is the heart of traditional bread structure. But don’t despair!
- Specialized Blends: For bread, you really want a blend designed for yeast baking. These often have higher protein flours (like sorghum or brown rice) and more starch.
- More Gum: You’ll likely need 1/2 to 1 tsp xanthan gum per cup of flour.
- Extra Liquid/Fat: GF bread dough will be much stickier, almost like a thick batter, not a traditional kneadable dough. Don’t be tempted to add more flour! Extra olive oil or softened butter can also add tenderness.
- Proofing: GF bread often proofs faster or can be “over-proofed” easily. Keep an eye on it.
Think of GF bread more like a quick bread batter that needs to rise, rather than a traditional dough you knead and shape. It’s a different beast, but a delicious one once you get the hang of it.
Gravies & Sauces: The Easiest Wins
This is where GF shines!
- Roux: Simply swap wheat flour for an all-purpose GF flour blend (or rice flour, sweet potato flour) in your roux.
- Slurry: Cornstarch or arrowroot powder are naturally GF and fantastic thickeners. Mix with a little cold liquid first to prevent lumps, then whisk into your hot sauce. Voila! Perfect every time.
Fun fact: Did you know that the elasticity of gluten comes from two main proteins, glutenin and gliadin, which form bonds when mixed with water? It’s a fascinating bit of food science, and understanding what you’re replacing helps you choose the right GF substitutes.
Your Mindset: Experiment, Learn, Enjoy!
Adapting recipes is a journey, not a destination. You’ll have triumphs, and yes, you’ll have a few flops. That’s okay! Even professional bakers have off days. Every attempt teaches you something valuable about how different GF flours behave.
- Keep Notes: Seriously, write down what you did, what worked, and what didn’t. This is your personal GF recipe bible.
- Start Simple: Don’t try to convert a complex croquembouche on your first go. Begin with easy wins like cookies or muffins.
- Taste As You Go: Adjust seasonings. Sometimes GF flours have slightly different flavor profiles.
- Embrace the Differences: Your GF chocolate chip cookie might not be an exact replica of the wheat version, but it will be uniquely delicious in its own right. Celebrate that!
The world of gluten-free cooking is truly an exciting one. With a little knowledge, a dash of courage, and a whole lot of love, you can bring all those traditional flavors back to your table. You don’t have to miss out on anything. Your kitchen can still be the heart of delicious memories, made even better because everyone can partake. So grab that old recipe card, roll up your sleeves, and let’s get baking!
And hey, if you’re curious about how specific starches interact in different cooking applications, a good read on starch properties can really demystify things. Happy adapting!