Gluten-Free Yeast Baking Essentials: Achieving Perfect Loaves (2026)

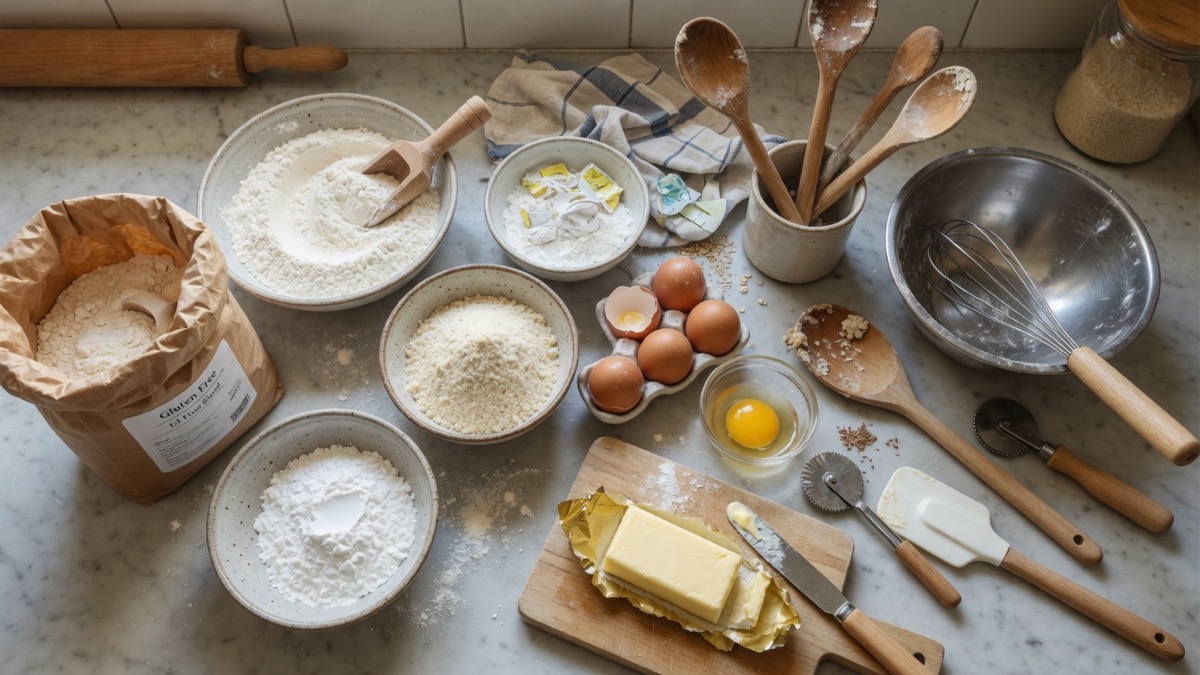
Hey there, fellow food adventurers! Ever dreamt of pulling a gloriously golden, perfectly crusty loaf of bread from your own oven? A loaf so fluffy on the inside, so wonderfully fragrant, that it makes your whole kitchen smell like a bakery? But then that little voice pipes up, “But what about gluten-free yeast bread? Isn’t that, like, impossible?”
I hear you. For years, GF yeast baking felt like trying to catch smoke. Dense, crumbly, sad little bricks were often the result. But I’m here to tell you something truly exciting: those days are behind us! With the right understanding and a few essential tricks up your sleeve, you can absolutely master the art of gluten-free yeast baking. Forget scarcity; we’re talking abundance here. Forget compromise; we’re talking about truly delicious, satisfying bread. This isn’t just about surviving GF; it’s about thriving, one perfect slice at a time. If you’re ready to bake bread that will make you do a happy dance, then you’re in the right place. And if you’re keen to explore the full delicious world of baking without gluten, you’ll find even more fantastic insights in our main guide on Gluten-Free Baking Essentials.
The Foundation: Understanding Your GF Flour Blends
Think of traditional wheat flour as a perfectly pre-built Lego set, ready for assembly. It has gluten, which is a protein network that acts like microscopic elastic bands. These bands trap the carbon dioxide bubbles created by yeast, giving bread its characteristic rise, chew, and structure. Pretty neat, right?
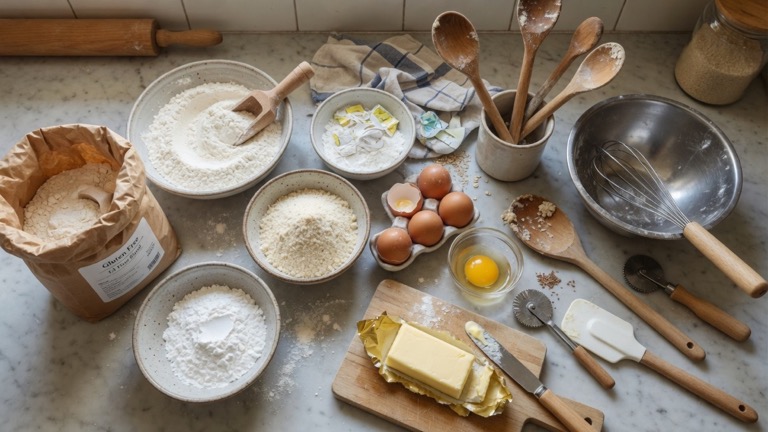
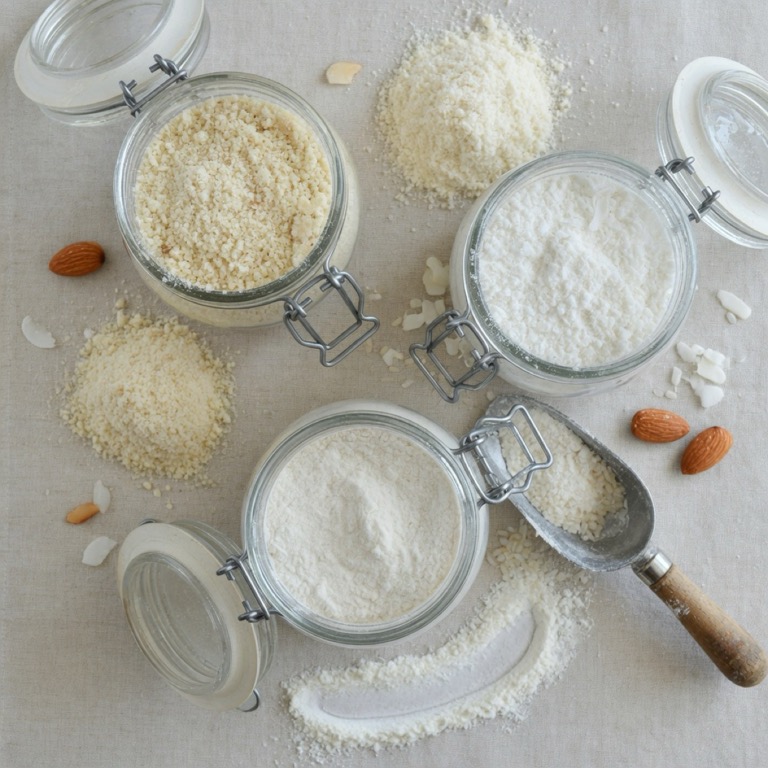
Now, gluten-free flours? They’re like a beautiful assortment of individual Lego bricks. Each one has its own special powers. Rice flour (white or brown) offers structure. Sorghum flour brings a lovely, mild flavor and softness. Tapioca starch provides chewiness and a beautiful crust. Potato starch helps with tenderness. Millet flour adds a touch of whole-grain goodness. We can’t just use one and expect it to do everything. That’s why successful GF yeast baking almost always involves a blend of flours.
You can buy pre-made GF all-purpose flour blends (just be sure they’re specifically designed for yeast baking, as some are better for quick breads or cookies). Or, for the truly adventurous, you can mix your own! This gives you ultimate control over flavor and texture. My advice? Start with a well-tested recipe that specifies a blend, or go for a high-quality commercial blend designed for bread. It makes a huge difference.
The Mighty Binders: Our Gluten Replacements
Since we don’t have gluten’s stretchy magic, we need something to step in and do the job. Enter the binders! These are the unsung heroes of GF baking, providing that much-needed elasticity and structure that prevents your bread from crumbling into a pile of crumbs. Without them, your loaf would be pretty dense, like a very sad scone.
The main players here are xanthan gum, guar gum, and psyllium husk powder. They work by absorbing liquid and forming a gel-like substance that traps gas bubbles, mimicking gluten’s ability to create an open, airy crumb. It’s like building an invisible scaffold inside your bread! Xanthan gum is probably the most common, offering great elasticity. Guar gum is a good alternative or can be used in combination. Psyllium husk powder, though, is a rising star in GF yeast baking. It adds incredible structure, chewiness, and moisture, giving results that are strikingly similar to traditional wheat bread. Just remember, a little goes a long way with these potent powders. Too much, and you might get a gummy texture. Nobody wants gummy bread. For a deep dive into these fantastic helpers, you absolutely must check out our guide on Xanthan Gum vs. Guar Gum: Choosing the Right Binder for GF Baking.
Yeast: The Same Old Friend, New Expectations
Good news! Yeast behaves pretty much the same whether it’s feasting on wheat flour or a GF blend. It still loves warmth, a little sugar to get it going, and a cozy place to rise. Active dry yeast, instant yeast, rapid-rise yeast – they all work. Just make sure your yeast is fresh! Old, tired yeast is like a sleepy sloth; it won’t do much. You can easily test its vitality by proofing it: mix it with a little warm liquid (around 105-115°F or 40-46°C) and a pinch of sugar. If it foams up within 5-10 minutes, you’re golden. No foam? Grab a new packet.
Hydration is Key: A Thirsty Dough
This is a big one, perhaps the biggest game-changer for many GF yeast bakers. Gluten-free flours are thirsty. Really thirsty! They absorb liquid differently and often need significantly more water or other liquids than their wheat-based counterparts. Traditional doughs are often kneaded to a smooth, somewhat firm ball. GF dough? It’s usually much wetter, almost like a thick batter or a very soft, sticky cookie dough. Embrace the stickiness!
Don’t be afraid to add a bit more liquid if your dough seems too dry. A dry GF dough will give you a dense, crumbly loaf. A well-hydrated dough, on the other hand, allows the binders to do their job, creates steam during baking, and contributes to a beautiful, open crumb. It might feel weird at first, especially if you’re used to handling wheat dough, but trust the process.
Mixing, Not Kneading: Gentle Persuasion
Here’s another departure from tradition: you usually won’t be kneading GF yeast doughs like you would wheat dough. Remember, we don’t have gluten to develop! Heavy kneading isn’t necessary and can even be counterproductive, potentially compacting the dough. Instead, we’re focused on thorough mixing. This helps distribute the binders evenly and activate their gelling properties. Use a stand mixer with a paddle attachment or a good sturdy spoon and some elbow grease.
Mix until everything is well combined and the dough looks uniform. Some recipes might call for a brief, gentle “fold” or “turn” during the rise, but it’s not the intense workout wheat dough demands. Think of it as gently encouraging the structure, rather than beating it into submission.
Proofing & Rising: Patience and Warmth
Gluten-free yeast doughs can sometimes be a little shy about rising. They might not double in size quite as dramatically as wheat dough, but they will still rise! Providing a warm, draft-free environment is crucial. Think of it like a cozy spa day for your dough. A slightly warmer proofing temperature (around 80-85°F or 27-30°C) can really help. You can create this by placing the dough in a slightly warmed oven (turned off!) or near a sunny window. Some people even put their bowl in a larger bowl of warm water. Cover your dough loosely with plastic wrap or a damp towel to prevent it from drying out.
Many GF yeast bread recipes benefit from a double rise. The first rise develops flavor and some initial aeration. Then, after shaping (which can be a bit tricky with sticky GF dough – use wet hands or a greased spatula!), a second, shorter rise encourages the final beautiful lift. Keep an eye on it; over-proofing can cause the structure to collapse.
Baking Techniques: Heat, Humidity, and a Good Crust
Getting that perfect crust and internal texture in GF yeast bread involves a few clever tricks:
- High Heat First: Many GF yeast breads start baking at a higher temperature (like 400-450°F or 200-230°C) for the first 10-15 minutes. This provides a burst of heat that helps with oven spring (that final push of rising in the oven) and sets the crust.
- Steam is Your Friend: Steam in the oven during the initial baking phase is magic for crust development. It keeps the surface moist and flexible, allowing the bread to expand without cracking prematurely. You can create steam by spritzing the oven walls with water, placing a pan of hot water on the bottom rack, or, my absolute favorite, baking in a Dutch oven. A good Dutch oven traps steam beautifully around your loaf, leading to an incredibly crispy, chewy crust. If you’re looking for more details on handy gadgets, our guide on Essential Tools for Every Gluten-Free Baker’s Kitchen will give you the full scoop.
- Bake Until Golden: Don’t underbake! GF bread, especially, needs to be thoroughly baked to prevent a gummy interior. A deep golden-brown crust and an internal temperature of around 200-210°F (93-99°C) are usually good indicators.
- Cool Completely: Resist the urge to slice into your beautiful loaf right away. GF bread continues to “set” as it cools. Slicing too soon can lead to a gummy or doughy texture. Let it cool completely on a wire rack for at least an hour, or even two.
Common Pitfalls and Your Super Solutions
Even with all the right essentials, sometimes things go a little sideways. Don’t worry, we’ve all been there! The journey of a thousand loaves begins with a single step, and often, a few learning opportunities.
Dense Loaves
- Too little liquid: Remember, GF flours are thirsty. Add more water next time.
- Under-proofed: Give that yeast more time and a warmer spot to work its magic.
- Old yeast: Fresh yeast is active yeast!
- Not enough binder: Ensure you’re using the correct amount of xanthan gum, psyllium, or guar gum.
Crumbly Texture
- Too dry: Again, hydration is often the culprit.
- Too much binder: Believe it or not, too much can also throw off the balance and make it crumbly.
- Underbaked: Ensure it’s cooked all the way through.
Gumminess
- Underbaked: This is a major cause. Bake longer, until golden and the internal temperature is right.
- Too much binder: Especially xanthan gum. Stick to recipe amounts.
- Slicing too soon: Patience, my friend! Let it cool completely.
If you’re really struggling with a gummy texture, we’ve got a whole guide dedicated to it. Take a peek at Preventing Gumminess in Gluten-Free Baked Goods: Expert Tips – it’s packed with solutions!
Go Forth and Bake!
See? Mastering gluten-free yeast baking isn’t about magic spells or complex incantations. It’s about understanding a few key differences and then playing to the strengths of our fantastic GF ingredients. It’s about being a confident kitchen wizard, armed with knowledge and a can-do attitude.
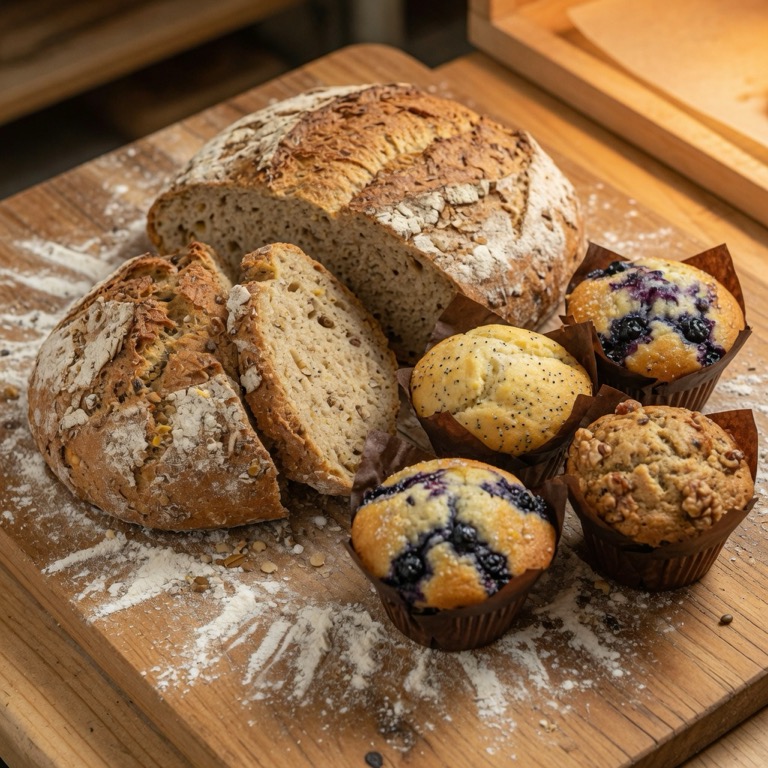
So, grab your GF flour blend, your trusted binder, and your active yeast. Find a fantastic recipe for a simple sandwich bread, a rustic artisan loaf, or even some fluffy dinner rolls. Get started. Each loaf you bake teaches you something new. And soon, you’ll be pulling out those perfect, golden loaves, the smell alone making you grin. Welcome to the wonderful world of truly delicious GF yeast bread. Your taste buds are going to thank you! And for all your other gluten-free baking adventures, remember to visit our comprehensive guide: Gluten-Free Baking Essentials. Happy baking!