Batch Baking and Freezing Gluten-Free Treats: Prep Ahead Tips (2026)

Forget those sad moments staring into an empty cupboard, wishing for a delicious gluten-free treat but lacking the time or energy to bake from scratch. We’ve all been there, right? That little grumble in your stomach that says, “I want a muffin!” but your schedule screams, “No way!” Well, my friend, it’s time to reclaim your kitchen and your snack stash. We’re talking about batch baking and freezing your favorite GF goodies. This isn’t just about saving time; it’s about having a ready supply of joy, a freezer full of happy possibilities.
Think of your freezer not as a cold storage unit, but as a treasure chest. A place where future you can reach in and pull out a perfectly baked cookie, a fluffy scone, or a rich brownie. No more last-minute grocery runs for questionable options. No more compromising on taste or ingredients. Just pure, unadulterated GF bliss, whenever the craving strikes. This approach is a game-changer for anyone living the gluten-free life, transforming frantic baking sessions into organized, delicious victories. And trust me, it’s easier than you think to stock that freezer like a pro. If you’re just starting your GF baking adventure, make sure you’ve got your Gluten-Free Baking Essentials sorted, because that’s always step one!
Why Batch Baking is Your GF Superpower
Let’s be honest, baking gluten-free can sometimes feel like a delicate dance. You’re measuring carefully, often using a blend of flours, and sometimes adjusting for moisture. Once you’ve gone through that effort, making just one batch feels… well, a little inefficient, doesn’t it? Here’s why doubling (or tripling!) your efforts upfront pays off big time:
- Time Savings: This is huge. Cleaning up once for multiple batches beats cleaning up multiple times. You’re already getting all your bowls and measuring cups dirty, so why not make it count?
- Always Have Treats: Spontaneous guests? Midnight snack attack? School lunchbox crisis? Your freezer is ready. This means fewer moments of feeling left out or resorting to less-than-ideal convenience foods.
- Cost-Effective: Buying GF ingredients in bulk often saves money. Plus, you’re less likely to buy expensive single-serve GF snacks when you have your own homemade stash.
- Ingredient Control: You know exactly what’s in your food. No hidden gluten, no unexpected allergens, just pure, wholesome deliciousness made by you.
- Reduced Stress: The mental load of always having to “make something” for an event or a craving disappears. Your future self will thank your past self profusely.
The Sweet Science of Freezing Gluten-Free Goodies
Now, you might be thinking, “But won’t they get weird in the freezer?” It’s a valid question. The key difference when freezing GF baked goods compared to their gluten-containing cousins often comes down to moisture. Gluten-free flours can sometimes be a bit thirstier, absorbing more liquid and potentially drying out faster during baking or freezing if not handled properly.
When you freeze food, the water inside it turns into ice crystals. Smaller, faster-forming crystals are generally better because they cause less damage to the food’s structure. Slow freezing leads to larger crystals, which can poke holes in cell walls, resulting in a drier, tougher, or crumbly texture once thawed.
Our goal? To lock in that delicious moisture and freeze things quickly. This means proper wrapping and sometimes even “flash freezing” before a final seal. Don’t worry, it’s simple to do! And it means your muffins will still be soft and your cookies still chewy. If you ever find your GF dough is acting a little sticky or difficult, knowing a bit about The Science of Gluten-Free Dough can definitely help you achieve perfect results before they even hit the freezer.
Your Freezer’s Favorite GF Treats: What Freezes Best?
Not all heroes wear capes, and not all baked goods love the freezer. But many do! Here’s a rundown of the stars that truly shine after a deep chill:
- Cookies: Drop cookies (like chocolate chip, oatmeal raisin) are fantastic. You can freeze the baked cookies *or* the raw dough in pre-portioned balls. Slice-and-bake dough logs are also brilliant.
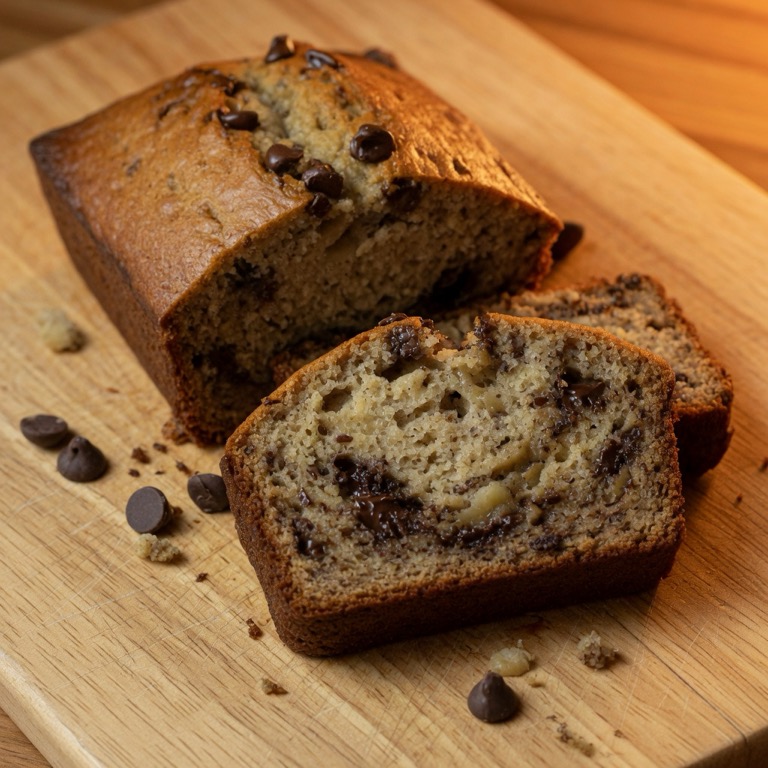
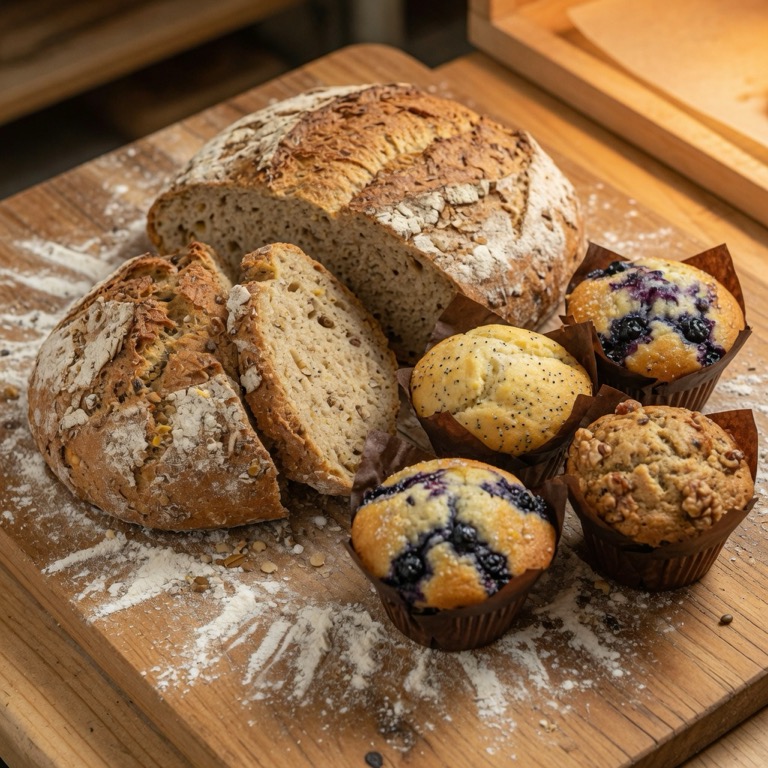
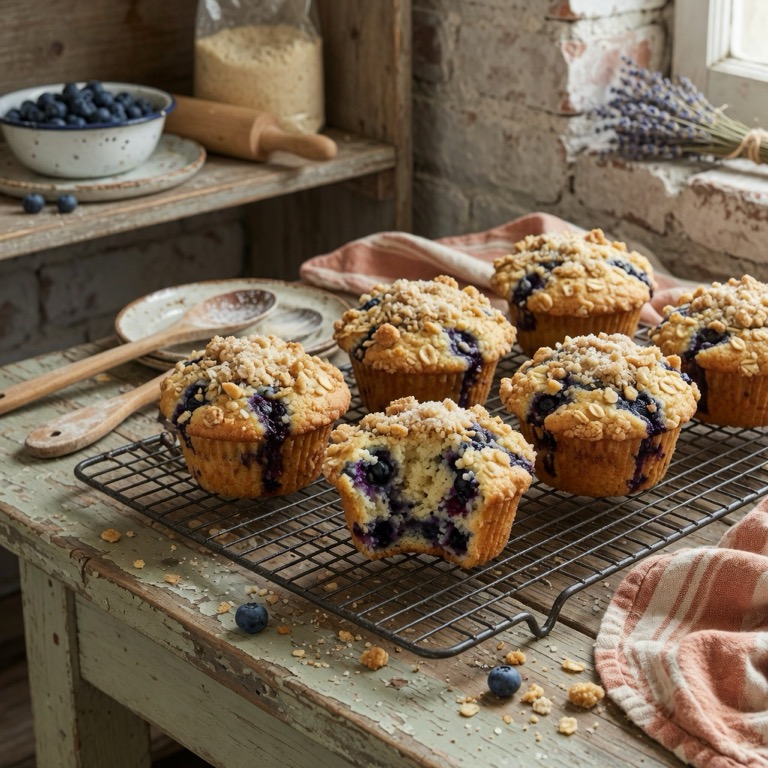
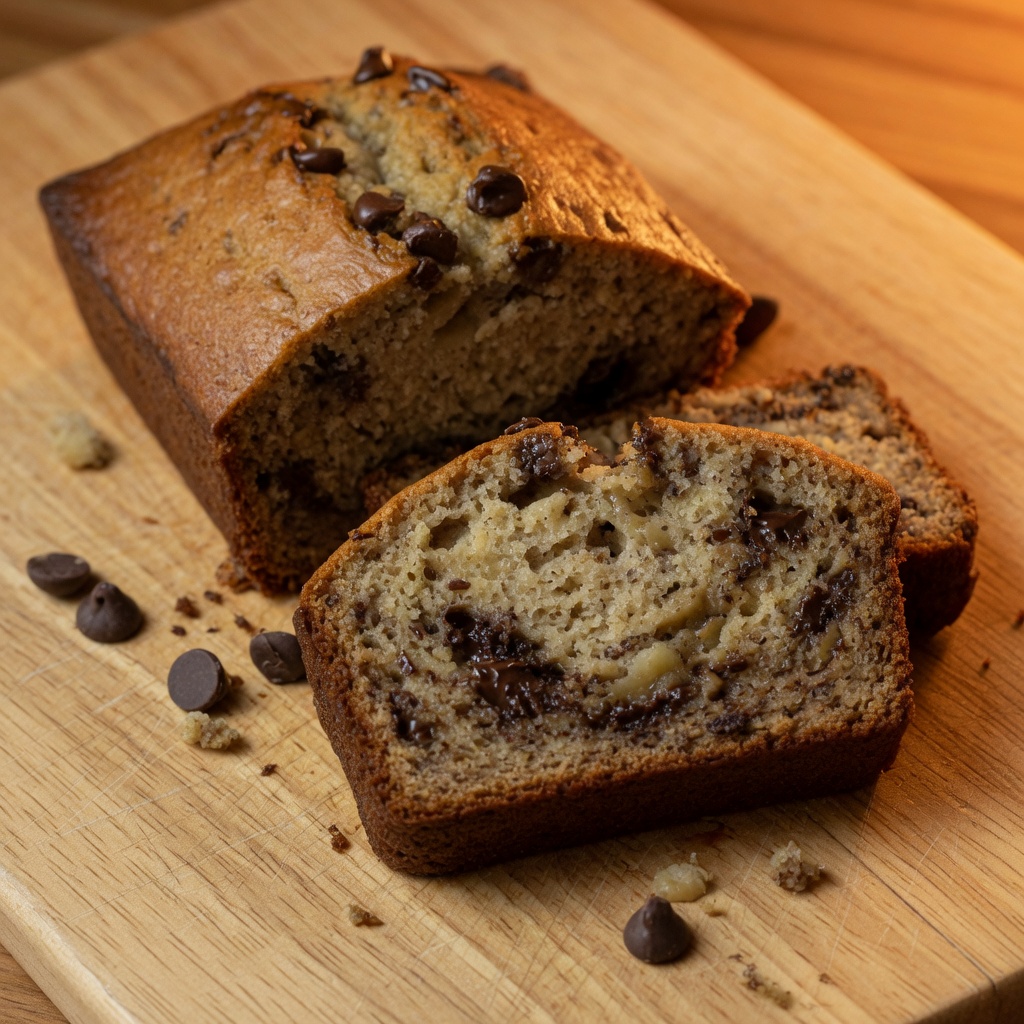
- Muffins and Quick Breads: These are freezer champions. Banana bread, zucchini bread, blueberry muffins—bake them fully, cool them, then freeze. They thaw beautifully and make for an easy breakfast or snack.
- Brownies and Bars: Dense and moist, brownies and most dessert bars (like blondies or oat bars) freeze exceptionally well. Cut them into individual servings before freezing for easy grab-and-go.
- Scones: You can freeze unbaked scone dough (cut into wedges) or fully baked scones. Thawing and a quick reheat brings them back to life.
- Pie Crusts: Unbaked GF pie crusts are wonderful to have on hand. Press them into pie plates, wrap well, and freeze. Then just pull one out, fill, and bake!
- Some Cakes: Pound cakes, loaf cakes, and unfrosted cupcakes (especially those with a tighter crumb) can freeze well. Delicate layer cakes or those with fresh fruit fillings might not fare as well.
**What to skip for the freezer?** Anything with a very delicate texture, like meringues. Custard-based items, fresh fruit pies (unless the recipe specifically says it’s freezer-friendly), and anything with a very high water content might become soggy or grainy upon thawing. Basically, if it’s super fluffy or jiggly, probably eat it fresh.
Prep Ahead Pointers: Your Batch Baking Playbook
Alright, let’s get down to the practical steps. Turning your kitchen into a gluten-free treat factory is simpler than you think.
1. Plan Your Masterpiece Menu
Don’t just randomly start baking. Pick 2-3 recipes you love that are known to freeze well. Maybe a batch of your favorite GF chocolate chip cookies, some fluffy blueberry muffins, and a pan of fudgy brownies. Having a clear plan saves time and stress.
2. Gather Your Arsenal (Ingredients!)
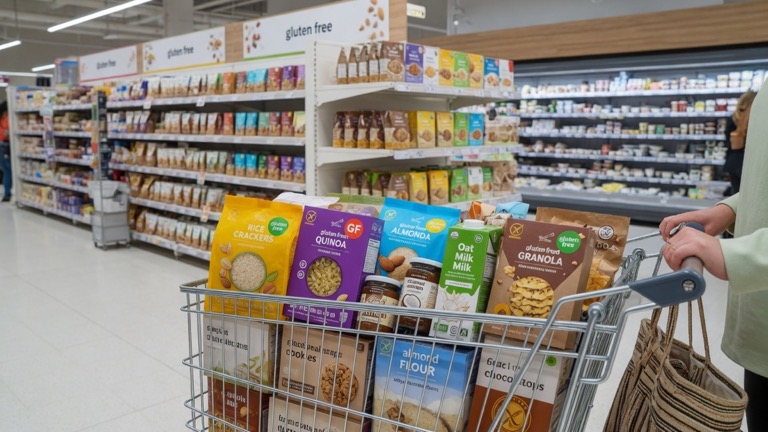
Once you know what you’re making, check your pantry. Buy any GF flours, chocolate chips, eggs, or butter you’ll need in larger quantities. Plus, this is a great time to experiment with Substituting Eggs in Gluten-Free Baking if you’re looking to make some of your treats vegan-friendly too!
3. Mise en Place, My Friend
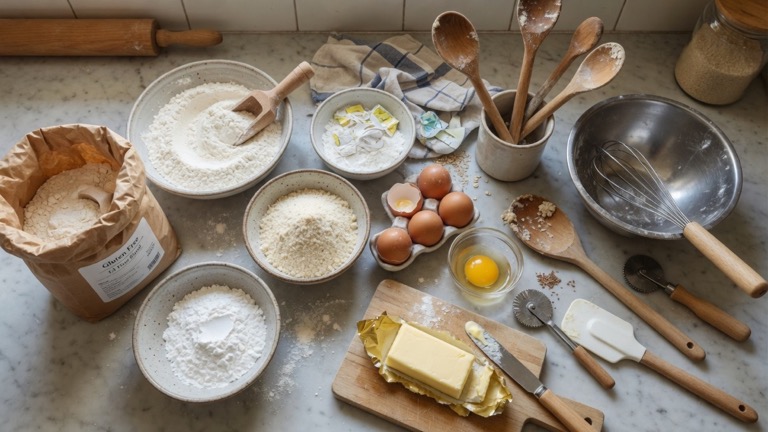
That fancy French term just means “everything in its place.” Before you even turn on your mixer, measure out all your dry ingredients. Line your baking sheets. Get your bowls ready. This makes the actual baking process flow smoothly and reduces the chances of forgetting an ingredient.
4. The Dedicated Baking Day
Set aside a block of time. Put on some music. Pour yourself a cup of coffee (or wine!). Make it fun! You’re not just baking; you’re investing in future happiness. The more relaxed you are, the more enjoyable the process will be. And remember, always make at least two batches of everything. If you’re going through the effort, might as well make it count!
Freezing Strategies: Locking in the Freshness
This is where the magic really happens. Proper freezing technique means your treats will taste just as good weeks or months later.
1. Cool Completely. Seriously.
This is non-negotiable for baked goods. Warm items create condensation inside your packaging, which leads to ice crystals and freezer burn. Let those cookies and muffins chill out entirely on a wire rack before they go anywhere near the freezer.
2. Portion for Pleasure
Think about how you’ll want to use them. Individual cookies, single muffins, or brownie squares are ideal. This way, you only thaw what you need, reducing waste and making those spontaneous snack attacks even easier.
3. Wrap it Up Tight: Air is the Enemy
Freezer burn happens when moisture evaporates from the food’s surface, leaving it dry and discolored. The best defense is a good offense: airtight wrapping.
- Plastic Wrap First: Wrap individual items or small portions tightly in plastic wrap. Get as much air out as possible.
- Then Foil or Freezer Bags: Add a second layer. Heavy-duty aluminum foil, freezer-safe bags (squeeze out all air), or airtight containers are your friends. For something like muffins, flash freeze them (see next point) then transfer to a freezer bag or container.
- Vacuum Sealing: If you’re really serious (and have the gadget), vacuum sealing is the ultimate air-removal method.
4. Flash Freeze for Freedom
For individual items like cookies, muffins, or scones, flash freezing is brilliant. Place them in a single layer on a parchment-lined baking sheet and freeze until solid (1-2 hours). Once solid, transfer them to a freezer bag or container. This prevents them from sticking together, so you can grab just one or two at a time without thawing the whole batch. For more general advice on keeping your baked goods fresh, check out our guide on How to Store Gluten-Free Flours and Baked Goods for Maximum Freshness.
5. Label, Label, Label!
Don’t guess. Use a permanent marker to write the item and the date it was frozen on your bags or containers. Trust me, “mystery brown thing” isn’t nearly as appealing as “GF Double Chocolate Brownies (03/26).” Most GF baked goods are best within 2-3 months in the freezer, though some can last longer.
Thawing and Reheating: Bringing Them Back to Life
The moment of truth! You’ve got your frozen treasure, now how do you make it delicious again?
- Room Temperature: Most cookies, brownies, and muffins can simply thaw on the counter for an hour or two.
- Oven Reheat: For that “freshly baked” feel, especially for muffins, scones, or quick breads, a quick warm-up in the oven is perfect. Wrap in foil (if desired to prevent drying) and bake at 300°F (150°C) for 10-15 minutes, or until warmed through.
- Microwave: Great for speed, but be careful! Microwave in short bursts (15-30 seconds) until warmed. Overheating can make GF items tough or chewy.
Troubleshooting: When Things Go Awry
Even pros have off days. If your thawed treats aren’t quite perfect:
- Too Dry? Next time, try wrapping more tightly or adding a tiny bit more moisture to the original recipe (like an extra tablespoon of applesauce or yogurt). For already dry items, a quick warm-up in the oven can help, or serve with a dollop of whipped cream or ice cream.
- Lost Flavor? Sometimes freezing can mute flavors slightly. A pinch more vanilla or cinnamon in the original recipe can help. For thawed cookies, a sprinkle of sea salt before serving can brighten things up.
Batch baking and freezing gluten-free treats is more than just a kitchen hack. It’s an investment in your well-being, a commitment to deliciousness, and a declaration of freedom from the gluten-free struggle. Imagine the joy of reaching into your freezer for a homemade cookie after a long day, or grabbing a pre-portioned muffin for a quick breakfast. It truly makes the gluten-free lifestyle feel abundant and effortless. So, stock that freezer, my friend. Fill it with good things. Your future self will thank you for all the delicious moments you’ve stored away. Happy baking, and even happier eating! For more comprehensive guidance on crafting flawless GF goodies, don’t forget to revisit our foundational Gluten-Free Baking Essentials guide.
Sources: