Baking with Almond Flour: Tips for Moist and Delicious Gluten-Free Treats (2026)

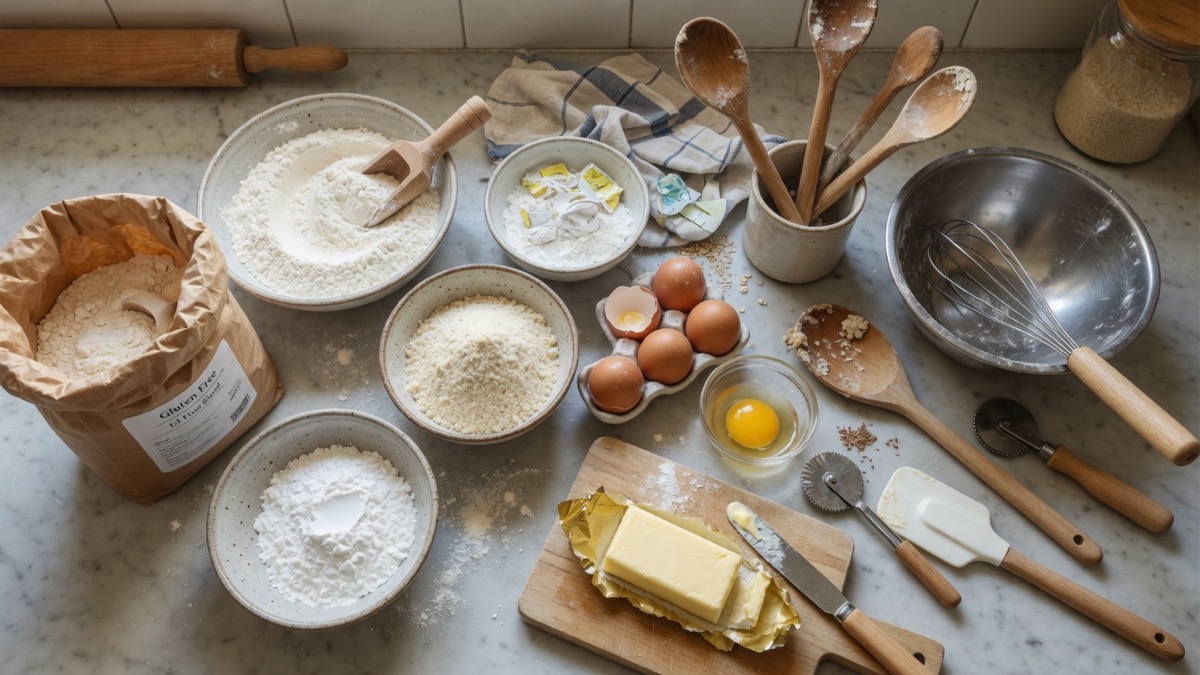
Ready to turn your kitchen into a gluten-free bakery that smells like pure magic? Good, because today, my friend, we’re talking about almond flour. This isn’t just another ingredient. It’s a superstar.
For years, many of us in the GF community navigated a baking landscape filled with dry, crumbly disappointments. A real bummer, right? But then, along came almond flour. Suddenly, cakes felt tender, cookies had that perfect chew, and muffins stayed moist for days. This isn’t a dream. This is real life, 2026 edition.
Almond flour, with its delicate, almost velvety texture and subtle nutty sweetness, is not just a substitute, it’s a star in its own right, capable of creating treats that are astonishingly tender, flavorful, and yes, deeply moist. It’s got a special something. It’s rich in healthy fats and protein, which contributes to that lovely texture we all crave. It’s also naturally gluten-free, low in carbs, and packed with nutrients. Basically, it’s a flavor superhero waiting to leap into your mixing bowl.
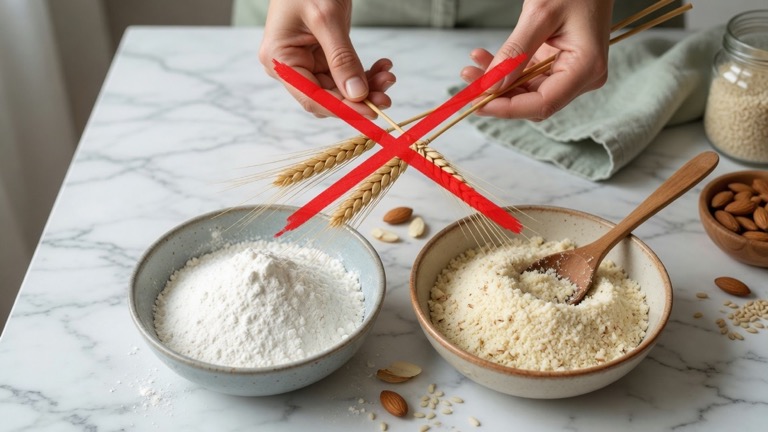
But it’s different. Very different from wheat flour. It doesn’t have gluten, the elastic protein that gives traditional baked goods their structure and chew. This means we need to approach it with a little wisdom, a bit of finesse. Think of it like learning to drive a fancy new sports car instead of your old reliable sedan. Different rules, exhilarating results.
If you’re just starting your GF baking journey, or need a refresher on the basics, be sure to check out our ultimate guide to Gluten-Free Baking Essentials. It’s packed with foundational knowledge that sets you up for success, no matter what flour you’re using.
So, how do we get those gloriously moist, utterly delicious results with almond flour every single time? Let’s dive into the secrets.
The Golden Rules of Baking with Almond Flour
1. Always Use Blanched, Superfine Almond Flour
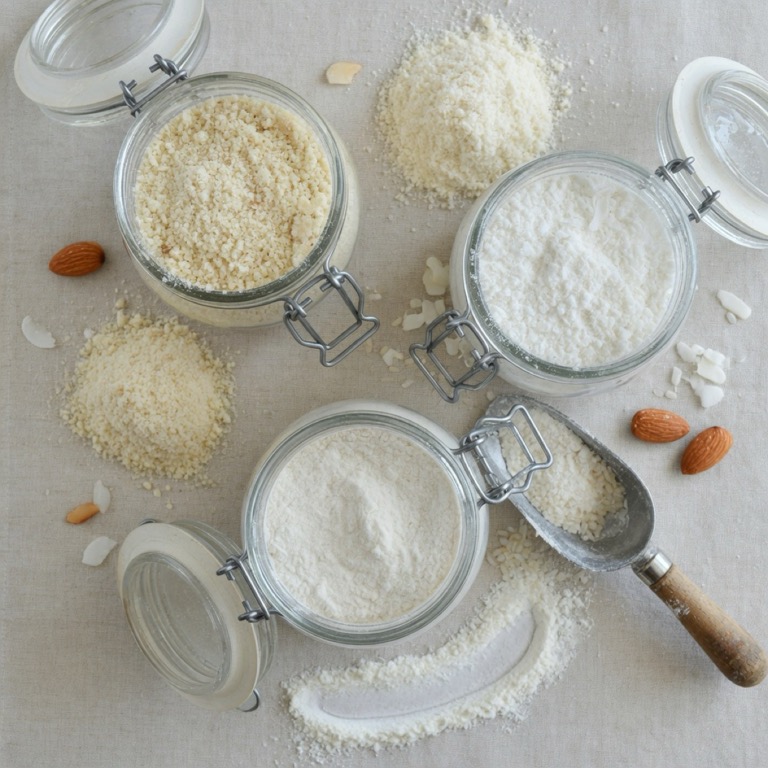
This is crucial. You might see “almond meal” or “unblanched almond flour” on the shelves. They’re not the same. Almond meal, which includes the skin of the almond, is coarser and will give your baked goods a gritty texture and a darker color. Think rustic, not refined.
For smooth, delicate cakes, cookies, and pastries, you want blanched (skins removed) and superfine (ground very, very fine) almond flour. It’s like the difference between sand and confectioners’ sugar. The superfine variety integrates beautifully, providing that melt-in-your-mouth experience.
2. Measure by Weight, Not Volume
This is a big one. Almond flour is light and fluffy. Scooping it into a cup can easily pack it down, leading you to use far more flour than a recipe intends. More flour equals dry, dense results. Nobody wants that!
A digital kitchen scale is your best friend here. It gives you precision, consistency, and removes all guesswork. If a recipe calls for 100 grams of almond flour, you’ll get exactly 100 grams, every single time. This tiny investment pays huge dividends in GF baking success. Seriously, it’s a game-changer.
3. Adjust Liquid Content (Almond Flour is Thirsty!)
Almond flour is like a tiny sponge. It absorbs a lot of liquid. But here’s the kicker: it absorbs it slowly. This means you often need more liquid than you would with traditional wheat flour, but you also need to give it time to fully hydrate.
When converting a wheat flour recipe, expect to increase the liquid by 10-20% when using almond flour. Sometimes, you might even need to add an extra egg or a splash of milk or water. Trust your gut. The batter should be thicker than a wheat flour batter, but not so thick it’s unmixable. It should still pour or spoon easily.
4. Embrace the Binders (Eggs, Gums, Psyllium Husk)
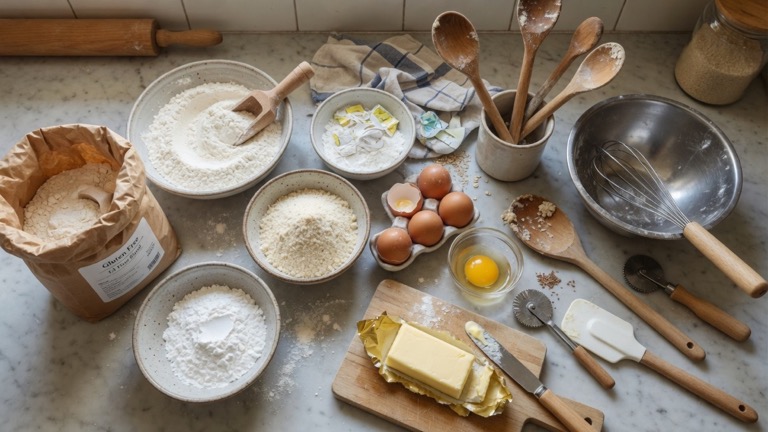
Remember how we said almond flour lacks gluten? That means your baked goods need a little help holding themselves together. Eggs are fantastic for this. They add structure, moisture, and help with leavening. Think of them as the unsung heroes of your batter.
Most almond flour recipes will call for more eggs than a wheat flour recipe. If you’re adapting, consider adding an extra egg for every cup of almond flour you substitute. For those of you looking to go completely plant-based, or who have egg allergies, don’t sweat it. There are brilliant alternatives, and we’ve got a fantastic resource on Substituting Eggs in Gluten-Free Baking that will open up a whole new world of possibilities.
Sometimes, a touch of xanthan gum or psyllium husk can also be incredibly helpful. These ingredients mimic gluten’s binding properties, preventing crumbliness. A tiny amount, usually 1/4 to 1/2 teaspoon per cup of almond flour, can make a huge difference. And speaking of structure, if you’ve ever wrestled with baked goods that just wouldn’t hold together or seemed a bit… gummy, understanding how binders work is crucial. We’ve got some serious wisdom on Preventing Gumminess in Gluten-Free Baked Goods, which you’ll find super helpful.
5. Lower the Oven Temperature and Bake Longer
Almond flour browns faster than wheat flour because of its higher fat content. To prevent the outside from burning while the inside remains raw, reduce your oven temperature by about 25°F (around 15°C) from what a wheat flour recipe suggests. So, if a recipe calls for 350°F, try 325°F.
You’ll also likely need to bake for a bit longer. Don’t be afraid to add 5-15 minutes to the baking time. Keep an eye on it. The perfect bake often involves a gentle golden-brown exterior and a springy center when lightly touched, or a clean toothpick test.
6. Don’t Overmix the Batter
While overmixing isn’t as disastrous with gluten-free flours as it is with wheat flour (no gluten to develop!), it’s still a good habit to avoid. Overmixing can incorporate too much air, which then escapes during baking, leading to a denser result. Mix until just combined. Less fuss, better crumb.
7. Patience is a Virtue: Cool Completely
This might be the hardest tip for impatient bakers (like me, sometimes!). Almond flour baked goods are often very delicate when hot. They need time to set up and firm up as they cool. Resisting the urge to slice that cake or bite into that cookie too soon is critical. Cutting into a warm almond flour treat can result in crumbling. Give it at least 30 minutes, or ideally, cool completely on a wire rack. Your patience will be rewarded with perfect texture.
Troubleshooting Common Almond Flour Baking Issues
Even with these tips, sometimes things don’t go exactly to plan. Here’s a quick cheat sheet for common hiccups:
| Problem | Likely Cause | Solution |
|---|---|---|
| Baked goods are too dry. | Not enough liquid; over-baked; incorrect flour measurement. | Increase liquid (milk, water, egg) next time; reduce baking time/temperature; measure by weight. |
| Baked goods are crumbly. | Not enough binder (eggs, xanthan gum); not cooled enough. | Add another egg or a touch of xanthan gum; ensure adequate cooling time. |
| Baked goods are too dense or heavy. | Not enough leavening; too much liquid; flour packed too tightly. | Check leavening (baking soda/powder expiration); slightly reduce liquid; measure flour by weight. |
| Exterior is burnt, interior is raw. | Oven too hot. | Lower oven temperature by 25°F (15°C); bake longer. |
A World of Delicious GF Possibilities
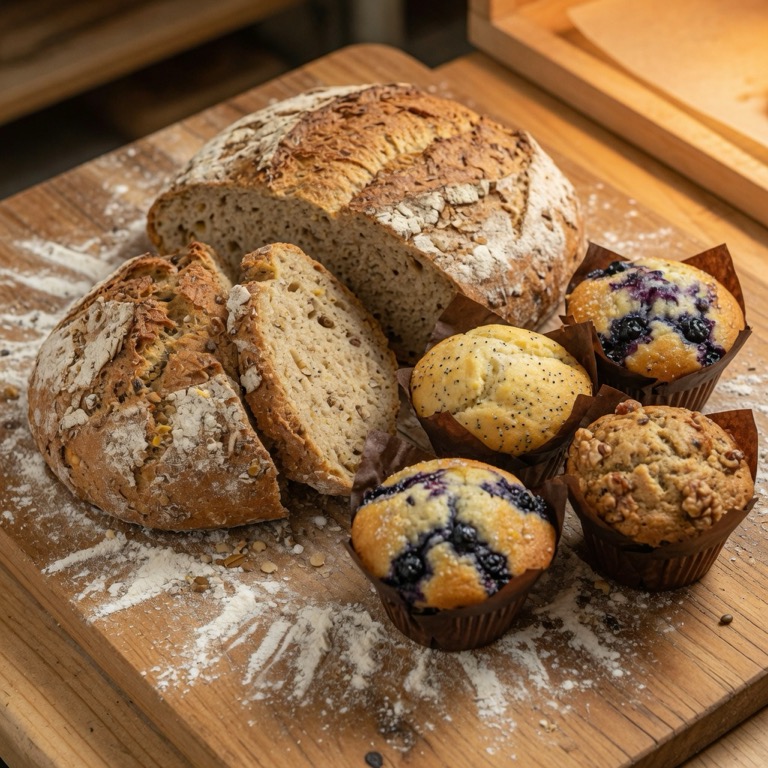
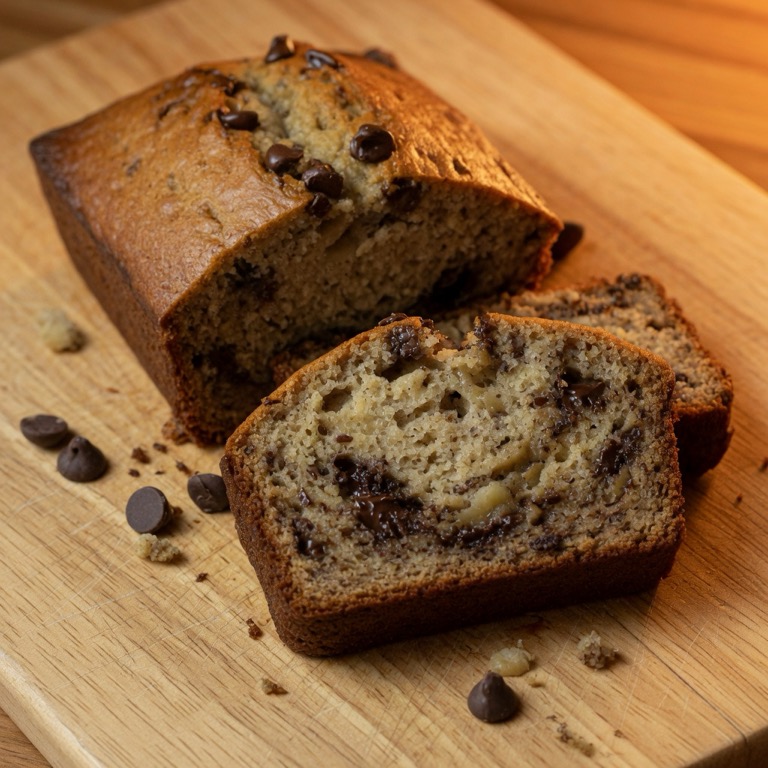
Almond flour opens up a world of truly delightful gluten-free treats. From tender lemon poppy seed muffins to rich chocolate tortes, from chewy cookies to light, airy quick breads, the possibilities are endless. It’s a versatile, flavorful flour that, once you understand its quirks, becomes incredibly rewarding to bake with.
So, go forth and bake with confidence! Experiment, taste, and enjoy the process. You’re not just baking gluten-free, you’re creating deliciousness. And that, my friends, is a truly wonderful thing. Happy baking!
External Resources for Further Reading:
- Wikipedia: Almond Flour – Learn more about the history and nutritional aspects of almond flour.
- Harvard T.H. Chan School of Public Health: The Nutrition Source – Almonds – Dive deeper into the health benefits of almonds, the source of our favorite GF flour.