How to Store Gluten-Free Flours and Baked Goods for Maximum Freshness (2026)

Hey there, fellow gluten-free enthusiast! Ever baked up a beautiful batch of muffins, only to find them dry and crumbly the next day? Or worse, opened a bag of what you thought was fresh almond flour and caught a whiff of something… off? (Spoiler alert: it wasn’t good.)
You’re not alone. Many folks new to the GF world, and even some seasoned pros, stumble when it comes to keeping our special ingredients and scrumptious baked goods at peak freshness. But here’s the secret: it’s really not complicated. Think of me as your kitchen confidante, ready to spill the beans (or should I say, the flour?) on how to keep your GF pantry happy and your treats tasting like they just came out of the oven. We’re talking less waste, more deliciousness, and total confidence in your Gluten-Free Baking Essentials.
Let’s dive in!
The Scoop on Storing Gluten-Free Flours
First, we need to understand a little something about what makes GF flours unique. Unlike traditional wheat flour, many of our beloved GF staples—especially nut and seed flours—contain natural fats. These fats are amazing for flavor and texture, but they’re also the main reason why these flours can go rancid if not stored correctly. Oxygen, light, and heat are their arch-nemeses. They break down those healthy fats, leading to that unpleasant, stale smell and taste. It’s like leaving a bag of chips open in the sun – nobody wants that!
Other GF flours, like rice or tapioca, don’t have as much fat, but they can still absorb moisture and odors. So, proper storage is truly key for *all* your GF flours.
General Rules for Flour Freshness: Your GF Pantry Commandments
These principles apply broadly across the board:
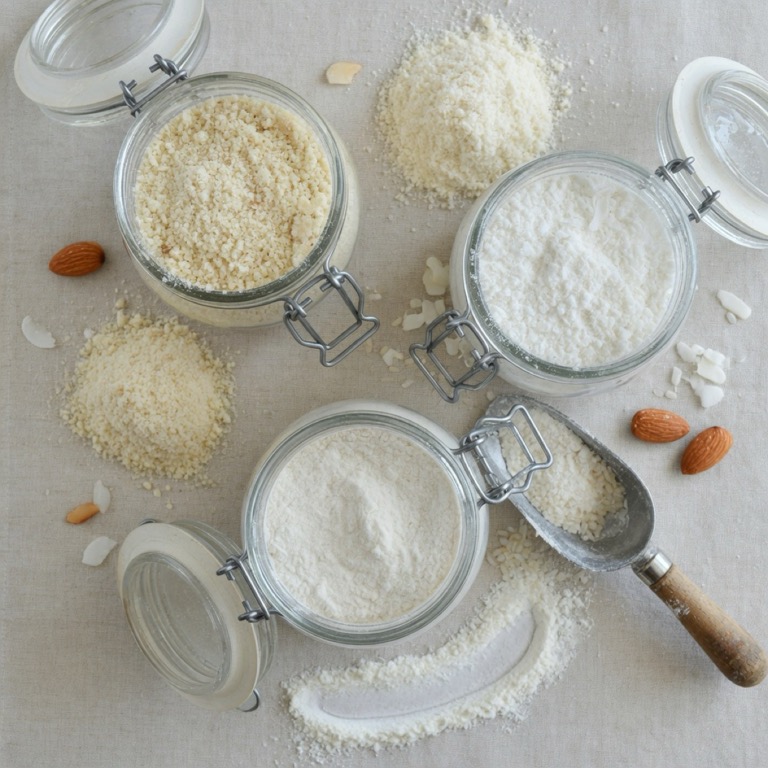
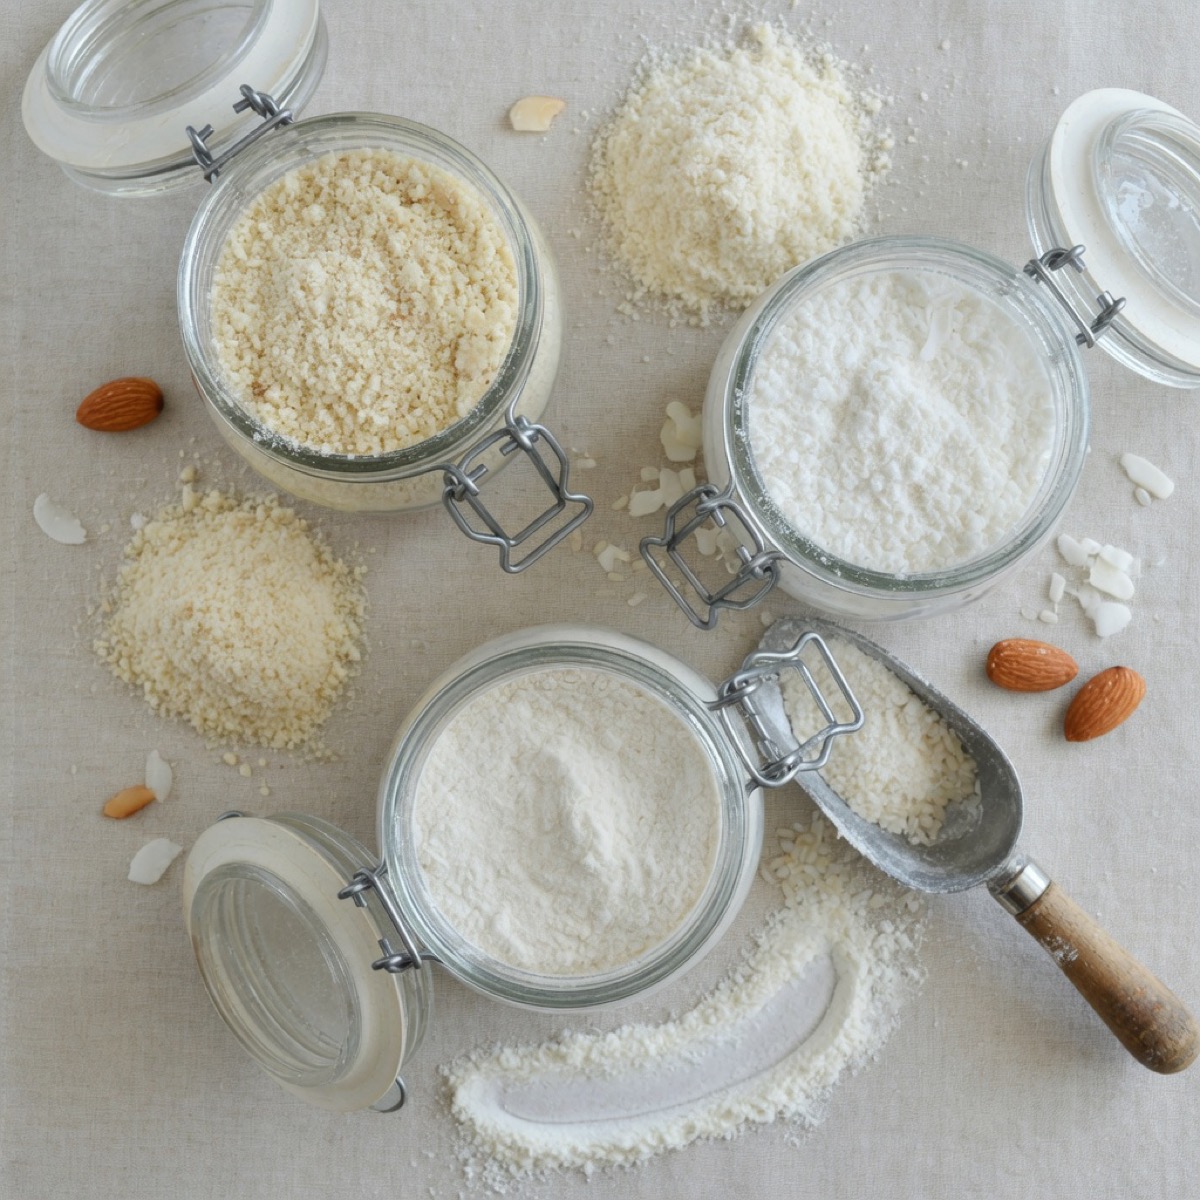
- Airtight is Right: This is non-negotiable. Oxygen is the enemy. Transfer flours from their original bags into truly airtight containers. Think glass jars with rubber seals, or sturdy plastic containers with locking lids.
- Cool, Dark, and Dry: A pantry or cupboard away from direct sunlight and heat sources (like your oven or stove) is ideal. Heat speeds up spoilage.
- Label and Date: Trust me on this one. When you buy a new bag, write the purchase date, or even better, the “best by” date from the package, directly onto your container. GF flours can look very similar!
- When in Doubt, Sniff it Out: Before baking, give your flour a quick sniff. If it smells slightly bitter, sour, or like old crayons, it’s likely rancid. Toss it. Your health and your bake deserve better.
Specific Flours: A Quick Guide
Let’s get a little more specific. Some flours need a bit more TLC than others:
-
Nut Flours (Almond, Cashew, Hazelnut): These are the divas of the GF flour world because of their high-fat content. They go rancid quickest.
- Pantry: Maybe 1-2 months *if* unopened and in a cool, dark place.
- Refrigerator: 3-6 months in an airtight container.
- Freezer: Up to a year in an airtight container. This is your best bet for keeping almond flour truly fresh!
-
Coconut Flour: This one is a thirsty flour, meaning it loves to absorb moisture and odors. It’s lower in fat than nut flours.
- Pantry: 6-12 months in an airtight container.
- Refrigerator/Freezer: Not strictly necessary, but it can extend its life if you have space, maybe 1-2 years. Just ensure it’s super airtight to prevent moisture absorption. Check out our Coconut Flour Demystified guide for more tips!
-
Rice Flours (Brown & White), Tapioca Flour, Arrowroot Powder, Sorghum Flour, Millet Flour, Oat Flour: These are generally more stable than nut flours. Brown rice and oat flours have a bit more oil than white rice or tapioca, so they can turn sooner.
- Pantry: 6 months to 1 year in airtight containers.
- Refrigerator: Can extend life, especially for brown rice and oat flour, up to 18 months.
- Freezer: Up to 2 years for most.
-
Starches (Cornstarch, Potato Starch): These are pretty robust.
- Pantry: Up to 2 years in their original packaging or an airtight container. Refrigeration/freezing isn’t typically needed.
-
Xanthan Gum: This magical binder is incredibly stable.
- Pantry: Years! Just keep it sealed tight to avoid moisture and clumping.
A Pro Tip: If you buy flours in bulk, divide them into smaller, airtight portions. Keep one in the fridge or pantry for immediate use, and stash the rest in the freezer. This minimizes exposure to air each time you open a container.
Keeping Your Gluten-Free Baked Goods Glorious
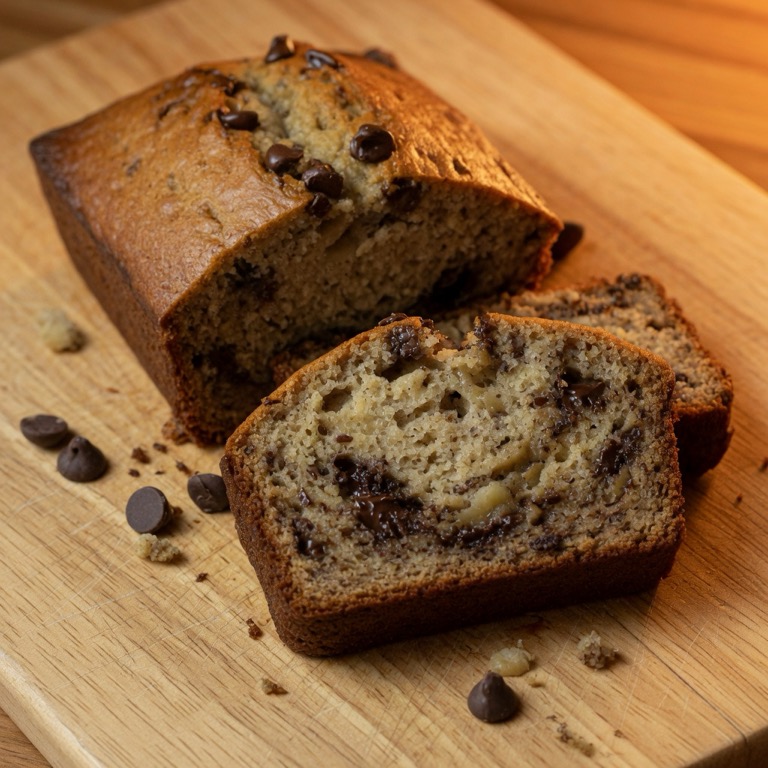
Alright, so your flours are perfectly preserved. Now for the delicious payoff: the baked goods! GF treats often have a reputation for drying out quickly, but with a few smart moves, yours can stay tender and tasty for days (or even weeks, thanks to the freezer!).
The Golden Rule: Lock in Moisture!
Because GF baked goods lack the elastic gluten network of traditional wheat-based items, they can lose moisture faster. Our goal is to create a happy, sealed environment where that precious moisture stays put.
Storage Hacks for Peak Yumminess
- Airtight is Still King: This cannot be stressed enough. Whether it’s a cookie jar, a plastic container, or a zip-top bag, make sure it seals completely.
- Room Temperature for Short Term: Most GF baked goods (breads, muffins, cookies) are best at room temperature for the first 1-2 days.
- Fridge for Longer: If your GF bake contains fresh fruit, dairy, or cream cheese frosting, it absolutely needs to go in the refrigerator. This usually means cakes, cupcakes, and tarts. Wrap them well to prevent them from drying out or absorbing fridge odors.
- The Freezer is Your Friend: For anything you won’t eat within a few days, the freezer is a miracle worker. It pauses time, locking in freshness.
Baked Good Specifics: Your Freshness Field Guide
-
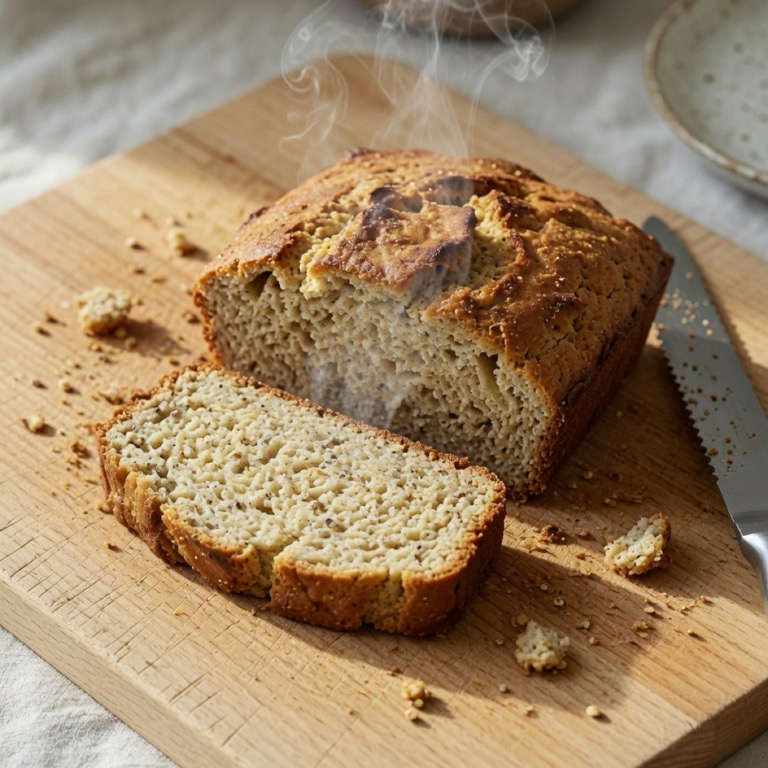
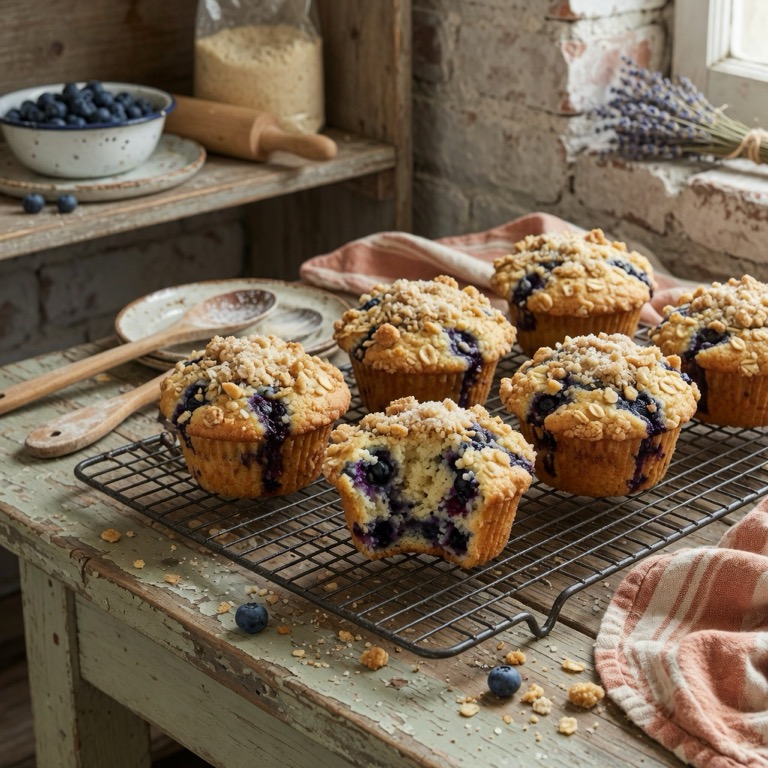
Breads, Muffins, Scones:
- Room Temperature (1-2 days): Store in an airtight container or a large zip-top bag. A paper towel inside the container can absorb excess moisture and prevent sogginess, especially for muffins.
- Freezer (up to 3 months): Slice loaves of bread before freezing. Wrap individual slices or muffins in plastic wrap, then place them in a freezer-safe bag. This way, you can grab just what you need and thaw/toast.
-
Cookies & Brownies/Bars:
- Room Temperature (3-5 days): Keep them in an airtight container. For cookies, you can even place a slice of bread (GF, of course!) in the container to help them stay soft. The cookies will absorb moisture from the bread.
- Freezer (up to 3 months): Layer them between parchment paper in an airtight container or freezer bag. Thaw at room temperature, or enjoy slightly chilled.
-
Cakes & Cupcakes:
- Room Temperature (unfrosted, 1-2 days): Keep covered loosely to prevent drying.
- Refrigerator (frosted, 3-5 days): Once frosted, especially with dairy-based frostings, these need to be in the fridge. Place them in a cake keeper or a large, airtight container. Bring to room temperature before serving for the best flavor and texture.
- Freezer (up to 1 month): For unfrosted cakes, wrap tightly in plastic wrap, then foil. For frosted cakes, freeze uncovered until the frosting is firm, then wrap tightly in plastic wrap and foil. Thaw slowly in the refrigerator.
-
Pies & Pastries:
- Room Temperature (1-2 days): Fruit pies can often sit on the counter. Cover loosely to maintain a crisp crust.
- Refrigerator (2-4 days): Cream-filled or custard pies, or those with delicate fruit, must be refrigerated. Wrap well.
- Freezer (up to 3 months): Many pies freeze beautifully, either baked or unbaked. Wrap tightly in plastic wrap, then foil.
Reheating Magic: A quick zap in the microwave for muffins or a few minutes in a toaster oven for bread slices can bring back that “freshly baked” feel. Just don’t overdo it!
Embrace the GF Goodness, Waste Less!
See? Storing your GF flours and baked goods for maximum freshness isn’t a chore; it’s an act of self-care for your pantry and your palate. By following these simple steps, you’ll save money, reduce food waste, and always have delicious, wholesome GF options ready to enjoy. Plus, it frees you up to experiment with fun new recipes, perhaps even trying out different egg substitutes in your GF baking now that you’re a storage pro!
So, go forth and bake with confidence! Your fresh, flavorful GF journey just got a whole lot smoother. Happy baking!
Sources:
- UC ANR Cooperative Extension Master Food Preservers Program
- University of Minnesota Extension: Food Storage Basics
Current Year: 2026