How to Store Gluten-Free Flours and Baked Goods for Maximum Freshness (2026)

Ever pull out that bag of specialty gluten-free flour, only to find it smells a little… off? Or maybe your delicious, homemade GF muffins go from fluffy to fuddy in what feels like mere hours? Friend, I’ve been there. It’s a tale as old as time (or at least as old as our gluten-free journey began!).
But here’s the good news: you don’t have to suffer through stale baked goods or toss perfectly good flour. The secret to keeping your gluten-free pantry vibrant and your creations fresh comes down to a few simple, smart storage habits. Think of me as your personal GF kitchen whisperer, ready to share the lowdown on how to keep your ingredients and treats tasting their absolute best. We’re all about making GF living easy, delicious, and free from unnecessary waste, right? If you’re just starting your baking adventure, you’ll want to check out our Gluten-Free Baking Essentials guide, too.
Guard Your Gold: Storing Gluten-Free Flours
Gluten-free flours are a little different from their wheat-based cousins. They often have higher fat content, especially nut and whole-grain varieties. This fat, while giving us amazing flavor and texture, is also what makes them more prone to going rancid. That’s a fancy way of saying “spoiling,” and trust me, you’ll know it by the smell. It’s usually a bitter, chemical, or crayon-like scent. Not exactly the aroma we want in our banana bread!
So, our mission is clear: protect those precious flours from heat, light, air, and moisture. These are the main culprits behind spoilage.
General Rules for Flour Freshness:
- Airtight is Right: This is your number one defense. Oxygen is a major contributor to rancidity. Use containers with tight-fitting lids. Glass jars, heavy-duty plastic containers, or even vacuum-sealed bags work wonders.
- Cool and Dark: A pantry is fine for some flours, but a fridge or freezer is often better. Light can also degrade fats over time.
- Label Everything: Seriously. Once those bags are opened and transferred, it’s easy to forget what’s what, and when you opened it. A label with the flour type and purchase/opening date is your best friend.
Flour by Flour: Your Storage Cheat Sheet
Let’s break it down by type, because not all GF flours are created equal when it comes to storage needs.
Nut Flours (Almond Flour, Pecan Flour, Hazelnut Flour)
These are the divas of the GF flour world. Packed with healthy fats, they are incredibly susceptible to rancidity. They practically demand a cold, dark environment.
- Fridge: Up to 6 months.
- Freezer: Up to 1 year (or even longer!).
Keep them in an airtight container to prevent them from absorbing fridge odors. Just let them come to room temperature before baking, as cold flour can affect your recipe’s hydration.
Whole Grain Flours (Brown Rice Flour, Oat Flour, Sorghum Flour, Buckwheat Flour, Quinoa Flour)
These flours still contain the germ and bran, which hold more oils than refined starches. This makes them more perishable than their white counterparts.
- Pantry (Airtight): 1-3 months.
- Fridge (Airtight): 3-6 months.
- Freezer (Airtight): Up to 1 year.
While some folks keep them in the pantry for a short time, I always recommend the fridge or freezer for extended freshness. It just makes good sense. Our guide to oat flour has even more tips for using this versatile grain.
Starchy Flours & White Rice Flour (White Rice Flour, Tapioca Starch, Potato Starch, Cornstarch, Arrowroot Powder)
These are your pantry workhorses. They are lower in fat and generally more stable. They’re less prone to rancidity and usually last a good long time.
- Pantry (Airtight): 6 months to 1 year.
- Fridge/Freezer: Will extend shelf life even further, but often not strictly necessary unless you live in a very warm, humid climate.
Still, always keep them sealed tightly to prevent moisture absorption (which can lead to clumping) and keep out pantry pests. Nobody wants unwanted critters in their baking supplies!
Unique & High-Fiber Flours (Coconut Flour, Chickpea Flour, Teff Flour)
These have their own quirks. Coconut flour, for example, is high in fiber and absorbs moisture like a sponge. Chickpea flour can develop a stronger flavor over time.
- Pantry (Airtight): 3-6 months.
- Fridge (Airtight): Up to 1 year.
Given their distinct properties and often higher price point, I usually play it safe and store these in the fridge once opened. Curious about coconut flour? Dive into our Coconut Flour Demystified post!
Gluten-Free Flour Blends
When it comes to blends, treat them like their most perishable ingredient. If your blend contains almond flour or oat flour, for instance, store it in the fridge or freezer. If it’s mainly white rice flour and tapioca, a cool, dark pantry is probably fine for a few months. When in doubt, go cold!
You can even make your own blends, which is a fantastic way to customize your baking. Our Ultimate Guide to Gluten-Free Flour Blends has all the details.
Freshly Baked Bliss: Storing Gluten-Free Baked Goods
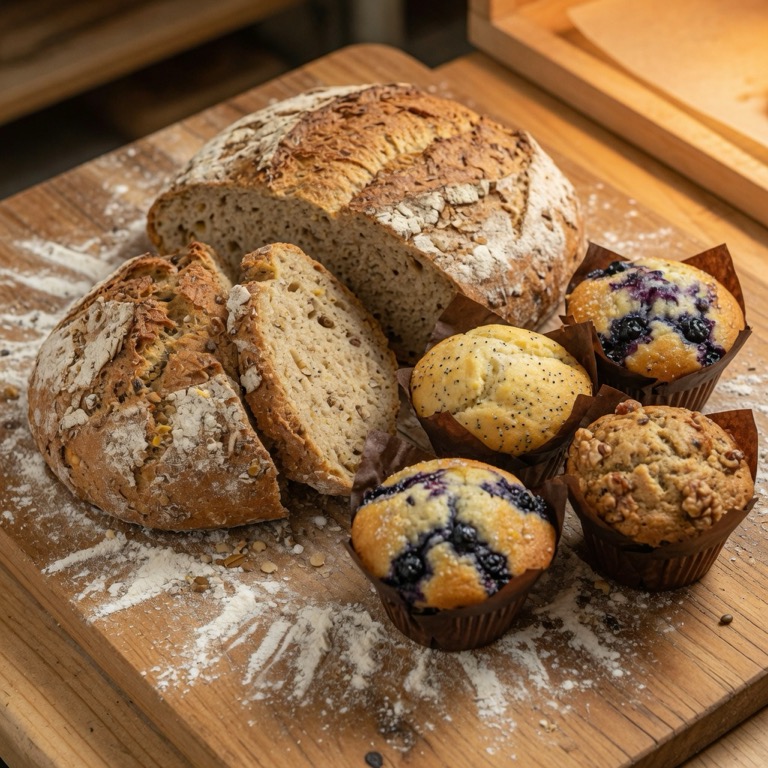
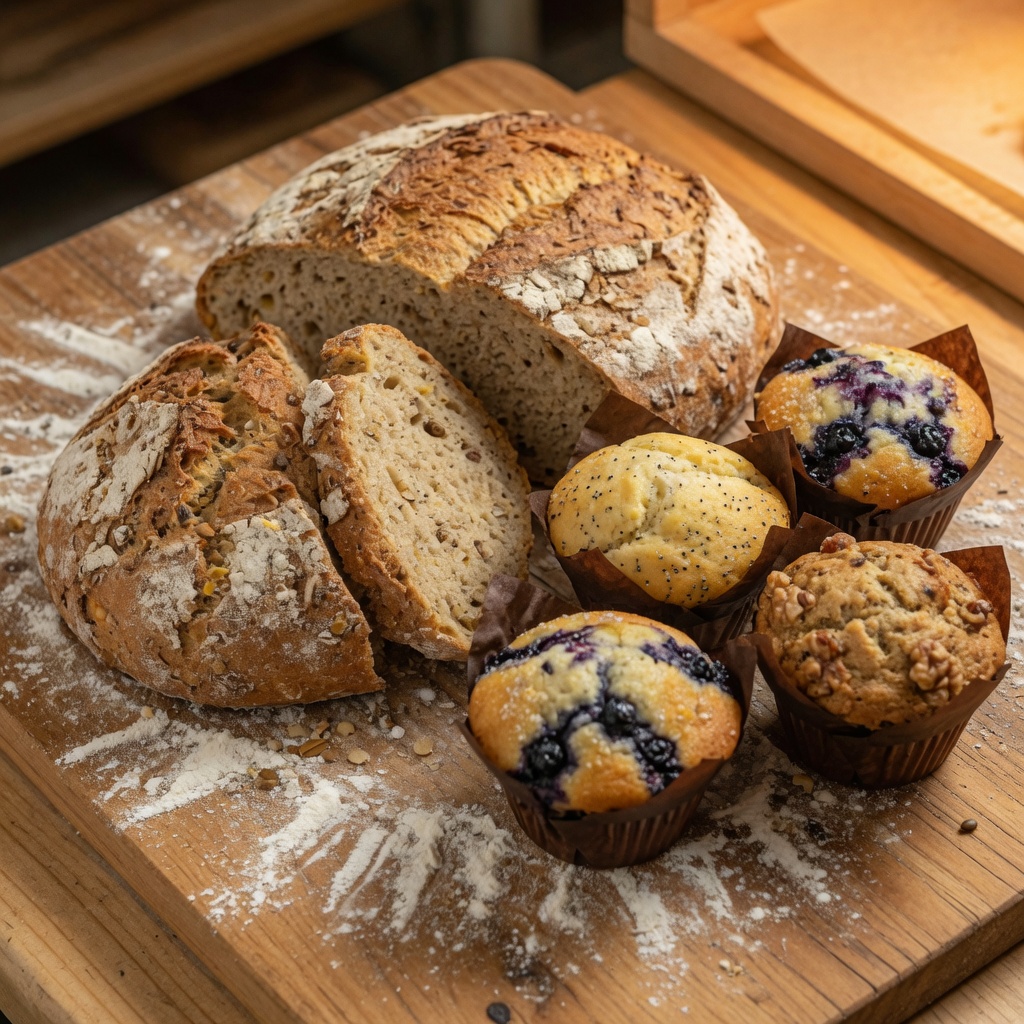
You’ve poured your heart into creating delicious GF treats. Now, how do you make that fresh-baked joy last? Gluten-free baked goods can have a notorious reputation for drying out quickly or getting crumbly. This is often because they lack the elasticity and moisture-retaining power of gluten. But with a few tricks, your muffins will stay soft, and your cookies will remain delightfully chewy.
The Golden Rule: Keep Out the Air (Mostly!)
Air is the enemy of fresh baked goods. It pulls moisture out, leading to staleness. Our goal is to create a happy, sealed environment for our creations.
Breads & Muffins (Quick Breads, Loaves, Scones, Biscuits)
These tend to dry out fastest. The key is to protect their tender crumb.
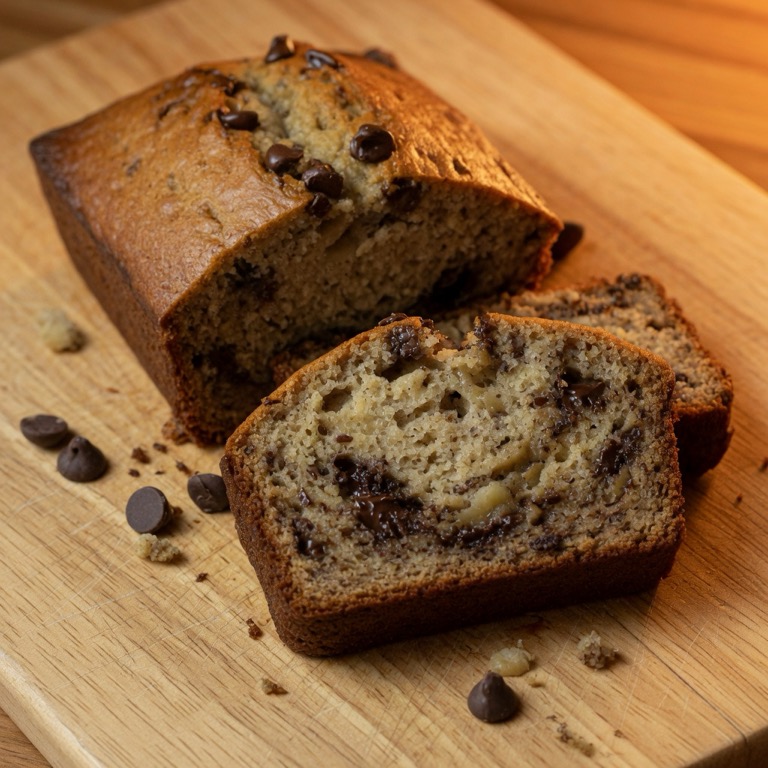
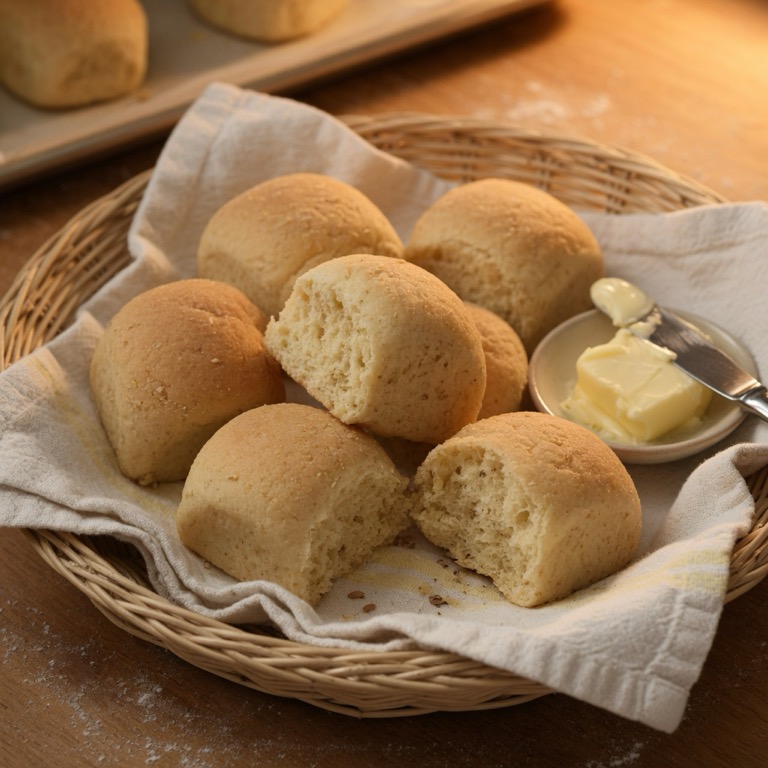
- Room Temperature (Short-Term): Store in an airtight container or a large zip-top bag for 1-2 days. If you’re not planning to eat them quickly, move to the fridge.
- Fridge: For up to 5 days. They might firm up a bit, but a quick toast or microwave warm-up brings them back to life beautifully.
- Freezer (Best for Longer Storage): Wrap individual slices or muffins tightly in plastic wrap, then place them in a freezer-safe bag or container. They’ll last for 2-3 months. Thaw at room temperature or warm directly from frozen.
Cakes & Cupcakes
Oh, the joy of a perfect GF cake! Whether frosted or plain, proper storage matters.
- Unfrosted: Wrap tightly in plastic wrap and store at room temperature for 2-3 days, or freeze for up to 3 months.
- Frosted (Buttercream or Cream Cheese): Store in an airtight container at room temperature for 1-2 days. For longer storage or if your frosting contains dairy/perishables, refrigerate for up to 5 days. Let it come to room temperature for the best flavor and texture before serving.
- Freezing Frosted: Freeze cake uncovered until the frosting is firm (a few hours). Then, wrap tightly in plastic wrap and then foil. Transfer to a freezer-safe container. This protects the frosting. Thaw in the fridge, then bring to room temperature.
Cookies & Brownies/Bars
These are often more forgiving, but still benefit from care.
- Room Temperature: Store in an airtight container for 3-5 days. If you’re mixing different types of cookies, separate them by flavor. Mints, for example, shouldn’t mingle with delicate shortbread.
- Freezer: Most cookies and bars freeze exceptionally well for up to 3 months. Place them in a single layer on a baking sheet to freeze solid, then transfer to a freezer-safe bag or container with parchment paper between layers.
Pies & Tarts
Storage depends entirely on the filling! Fruit pies can often stay at room temperature, while creamy or custard-filled pies usually need refrigeration.
- Fruit Pies (Apple, Berry): Loosely covered at room temperature for 1-2 days.
- Custard/Cream Pies (Pumpkin, Lemon Meringue, Chocolate Cream): Tightly covered in the fridge for 3-4 days.
Pro Tips for Freezing Baked Goods:
- Cool Completely: Never freeze warm baked goods! Condensation will form, leading to ice crystals and sogginess.
- Double Wrap: Plastic wrap, then foil, then a freezer bag. This is your trifecta against freezer burn.
- Portion Control: Freezing individual slices or portions makes it easy to grab just what you need without thawing the whole batch.
- Revive: A quick zap in the microwave, a few minutes in a warm oven, or even a toaster can bring many frozen GF items back to their tender, delicious glory.
The Payoff: Deliciousness, Savings, and Peace of Mind
Taking a little extra time to properly store your gluten-free flours and baked goods is an investment. It means less food waste (which saves you money, especially with those specialty flours!), consistently delicious results in your baking, and the confidence that every bite will be as fresh and flavorful as you intended. No more sad, crumbly cookies or funky-smelling flour!
So, stock up on those airtight containers, clear out a little fridge space, and get ready to enjoy the abundance of a gluten-free kitchen. Your taste buds (and your wallet) will thank you. Want to explore more ways to make your GF kitchen sing? Don’t forget to check out our Gluten-Free Baking Essentials guide!
Sources: