Homemade Gluten-Free Bread: Tips for Avoiding Cross-Contamination (2026)

Oh, the smell of freshly baked bread. Is there anything quite like it? That warm, yeasty aroma filling your kitchen, promising a tender crumb and a crispy crust? For years, after going gluten-free, I thought that glorious moment was lost to me. Store-bought GF bread can be… well, let’s just say it often leaves a little to be desired. But then I discovered the magic of making my own, and it was a total game-changer.
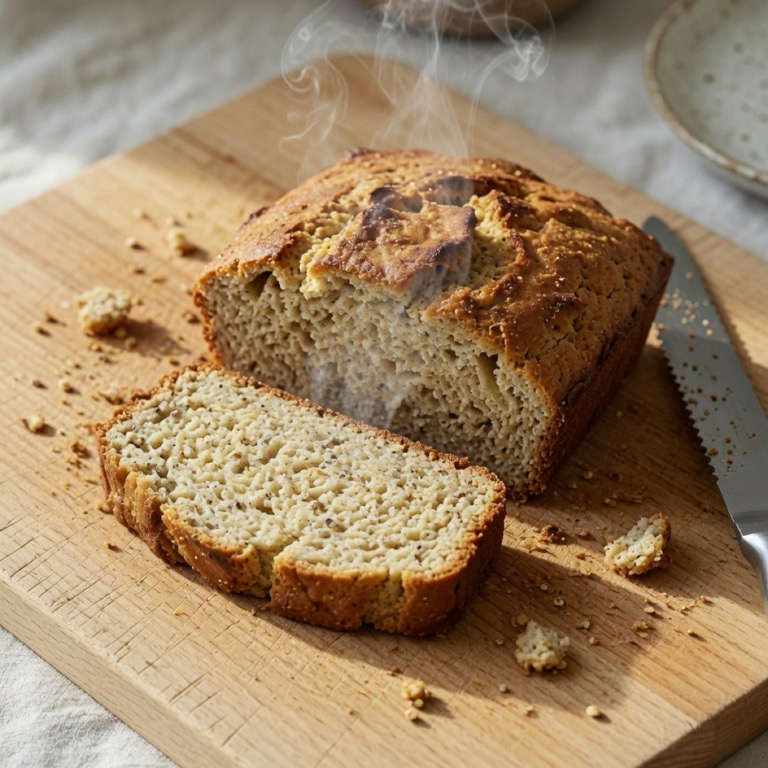
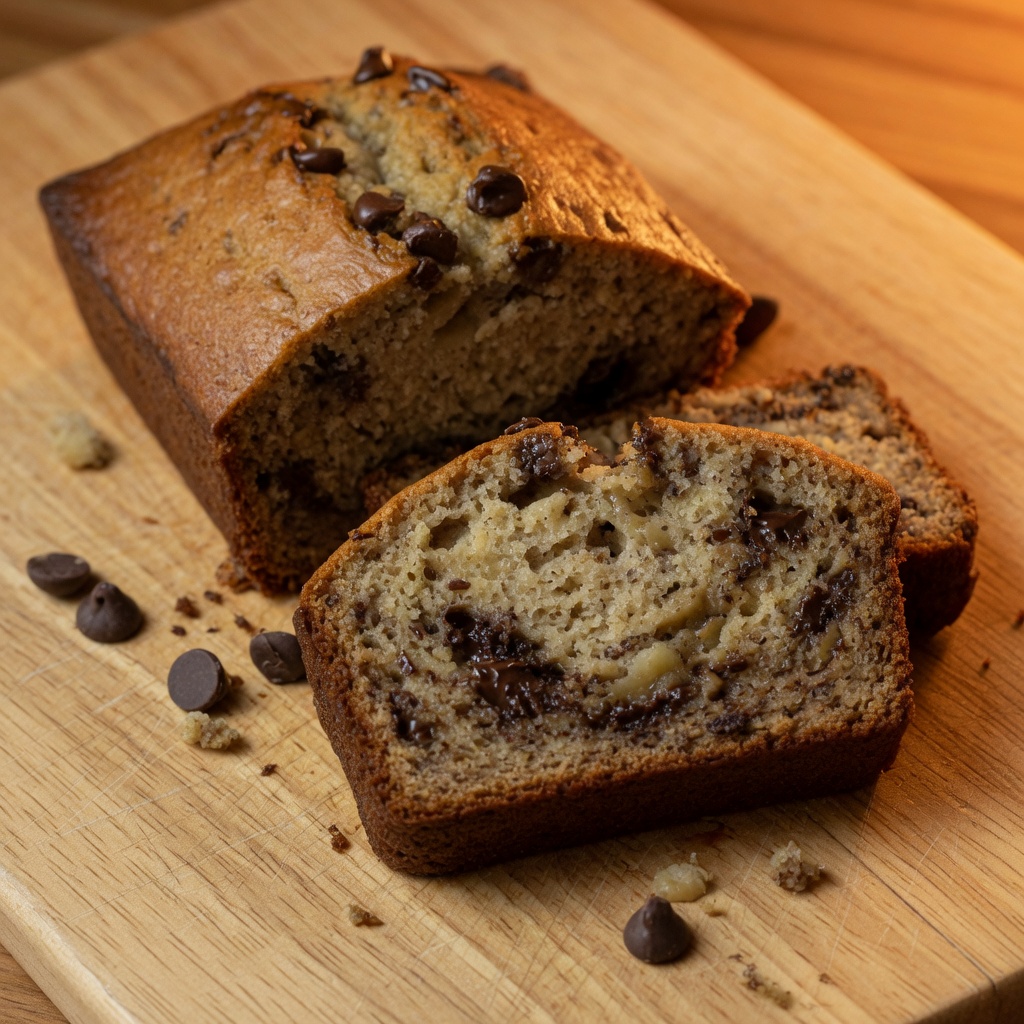
Picture this: a golden-brown loaf, steaming gently, ready for a generous swipe of butter. That’s the dream, right? And it’s absolutely within your reach. Homemade gluten-free bread is truly a triumph. It tastes better, the texture is spot-on, and you know exactly what’s in it. But here’s the thing: making your own GF bread means you’re stepping into the kitchen as a guardian of gluten-free safety. You’ve got to be super vigilant, because even a tiny speck of gluten can cause trouble for those of us with celiac disease or serious gluten sensitivities.
We’re talking about cross-contamination here. It’s that invisible enemy, lurking in crumbs, on shared surfaces, or even in the air. Mastering homemade GF bread isn’t just about mixing ingredients; it’s also about Preventing Gluten Cross-Contamination every step of the way. Think of your kitchen as a culinary fortress, and you’re the benevolent chef-knight protecting the sacred GF realm. Don’t worry, it’s not as daunting as it sounds. With a few smart strategies and a dash of awareness, you’ll be baking safe, delicious GF loaves like a pro. Let’s dive in!
Understanding the Silent Enemy: Gluten and Cross-Contamination
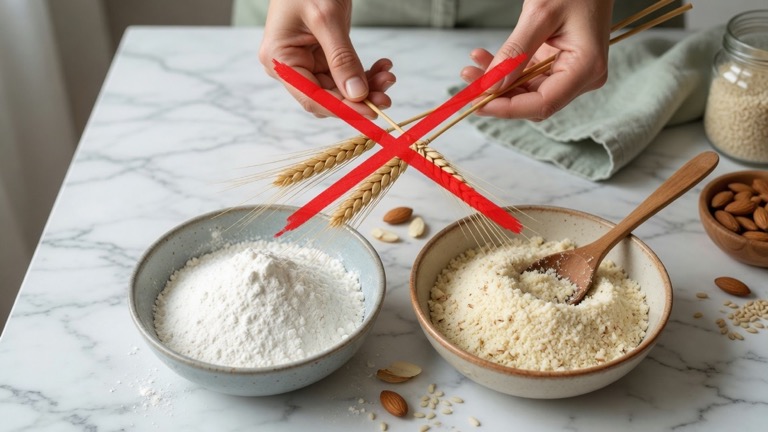
Before we roll up our sleeves and get flour everywhere (the good kind, of course), let’s quickly refresh our understanding of gluten. Basically, gluten is a group of proteins found naturally in wheat, barley, and rye. It’s what gives traditional bread its stretchy, chewy texture. For most people, it’s harmless. But for folks with celiac disease, eating even a crumb of gluten triggers an immune response that damages the small intestine. For those with non-celiac gluten sensitivity, the symptoms can range from digestive distress to brain fog and fatigue. It’s a big deal. A really big deal.
Cross-contamination happens when gluten-containing foods or particles accidentally transfer to gluten-free foods. This could be a stray crumb from a regular bagel on your counter, using the same toaster as a wheat-based bread, or even residual flour dust floating around. We’re talking about incredibly small amounts here, sometimes measured in parts per million. So, when you’re making your glorious GF bread, you need to think like a culinary detective, scouting out potential gluten hiding spots. It’s about creating a safe bubble for your beautiful loaf.
Stage One: The GF Kitchen Power-Up
Your kitchen is your temple. When it comes to GF baking, it needs to be consecrated, so to speak. This is where we lay the groundwork for success. And safety. A little planning goes a long way here.
Designate Your GF Zone
This is crucial. If you share a kitchen with gluten eaters, you absolutely need a dedicated gluten-free zone. Pick a section of your countertop that can be exclusively yours for GF baking. Maybe it’s that little corner by the window, or a specific part of the island. This isn’t just for looks; it’s a physical boundary. People understand “this area is off-limits for gluten stuff.”
Also, clear out a cupboard or a drawer for your GF flours and baking essentials. Having everything in its own spot reduces the risk of grabbing the wrong ingredient or mixing up tools. Think of it as your own personal, gluten-free pantry within the larger pantry.
The Clean Sweep: Because Dust Bunnies Are Not Your Friends
Before any flour hits the counter, give your designated GF area a thorough wipe-down. Don’t just swipe with a damp cloth; use a clean sponge or a fresh paper towel and a good cleaning spray. Why? Because crumbs are sneaky. They hide. They cling. And they contain gluten. Wipe down the counter, any nearby appliances, and even the wall behind your workspace. If you’re really serious, you might even consider doing a Cleaning for Celiacs: Deep Cleaning Your Kitchen to Remove Gluten Residue periodically. It’s about peace of mind, really.
And those dishcloths? Get dedicated GF ones. You do not want a cloth that wiped down a regular flour spill to touch your GF bread-making surface. Same goes for sponges. Keep a separate, brightly colored sponge just for GF dishes and surfaces. Label it if you must. Pink sponge means GF only!
Stage Two: Your Dedicated GF Baking Arsenal
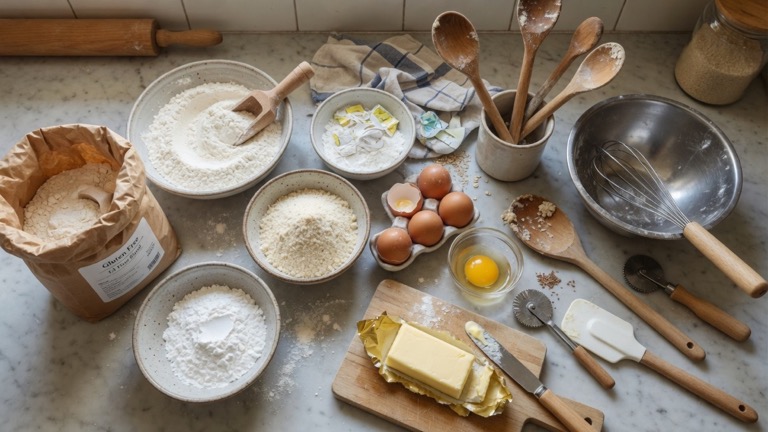
Just like a carpenter has specific tools for specific jobs, you need a set of dedicated tools for your gluten-free baking. Sharing certain items with gluten-containing foods is a one-way ticket to cross-contamination city. And nobody wants that.
Bowls, Utensils, and Mixing Magic
- Mixing Bowls: Invest in a set of stainless steel or glass mixing bowls. These materials are non-porous and easy to clean thoroughly. Plastic bowls, especially older, scratched ones, can harbor gluten particles. Not worth the risk!
- Measuring Cups and Spoons: A dedicated set is ideal. If you’re short on space or budget, just be absolutely sure to wash shared items meticulously with hot, soapy water before using them for GF ingredients.
- Spatulas and Whisks: Silicone spatulas and metal whisks clean up beautifully. Avoid wooden spoons for shared use, as wood is porous and can absorb gluten.
- Sifters: This is a non-negotiable. You need a dedicated gluten-free sifter. Flour dust is a major cross-contaminant. A sifter that’s been used for wheat flour is absolutely off-limits for your GF flour blends.
The Heat of the Oven: Pans and Racks
- Baking Pans: Silicone bread pans are fantastic for GF loaves. They’re naturally non-stick and super easy to clean. Metal pans, especially older ones with scratches or baked-on residue, can be problematic. If you must use a shared metal pan, line it thoroughly with parchment paper, creating a complete barrier. Or just get a dedicated GF one.
- Cooling Racks: A simple, dedicated cooling rack will save you stress. Gluten crumbs from regular baked goods can settle into the nooks and crannies of a shared rack. If you don’t have one, line a shared rack with fresh parchment paper.
- Cutting Boards & Knives: This is HUGE. You need a dedicated gluten-free cutting board. Period. Plastic or composite boards are best because they can be easily scrubbed clean. Wood is too porous. And a dedicated bread knife helps too. Imagine slicing your pristine GF loaf on a board that just had a regular baguette! Don’t do it. This ties in perfectly with our comprehensive Setting Up a Gluten-Free Kitchen: A Beginner’s Guide.
The Bread Machine Question
If you’re using a bread machine, things get a bit trickier. The nooks and crannies of a bread machine, especially around the paddle and heating element, can be magnets for gluten crumbs. Ideally, you’d have a dedicated GF bread machine. If that’s not possible, a very, very thorough cleaning is needed. I’m talking brushes, vacuum, and multiple wipes. Even then, there’s a risk. For ultimate peace of mind, a dedicated machine or traditional oven baking is usually the safest bet.
Stage Three: Guarding Your Golden Ingredients
Your GF flours are precious. They’re the heart of your bread. Protecting them from contamination is paramount.
Certified GF: Read Those Labels Like a Hawk
Always, always buy flours and ingredients that are certified gluten-free. This means they’ve been tested and meet strict standards for gluten content (usually less than 20 parts per million). Even seemingly innocuous ingredients like yeast, baking powder, or cornstarch can be processed on shared equipment and become contaminated. Don’t assume; check the label for that GF certification symbol.
And yes, this goes for everything from your tapioca starch to your psyllium husk. Every single ingredient. It sounds tedious, but it’s vital. Think of the label as your ingredient’s passport: it needs the right stamp.
Smart Storage: Keep Them Safe and Sound
Once you have your certified GF ingredients, store them properly. Keep all GF flours and mixes in tightly sealed containers. Air-tight containers prevent moisture and, more importantly, airborne gluten particles from settling in. Label everything clearly with “GF” or “Gluten-Free” so there’s no confusion, especially if you share a pantry. If you have a shared pantry, consider storing all your GF ingredients in a large, clearly marked bin or on a dedicated top shelf. Out of sight, out of gluten’s reach.
Source: Celiac Disease Foundation: What is Gluten?
Stage Four: The Baking Process, Step by Mindful Step
You’ve prepped your kitchen and your ingredients. Now it’s showtime! This is where your focus on detail really shines.
Order of Operations: GF First!
If you live in a mixed household and plan to bake both gluten and GF items, *always* bake your gluten-free bread first. This minimizes the risk of gluten flour dust or crumbs contaminating your workspace or equipment before your GF dough even sees the light of day. Think of it as clearing the air, literally.
Hands-On Hygiene: Wash Those Hands!
This seems obvious, but it’s worth reiterating. Wash your hands thoroughly before you start baking. And if you handle any gluten-containing items during the process (unlikely if you’re baking GF first, but accidents happen!), wash them again before touching your GF ingredients or dough. Your hands can easily transfer gluten.
Flour Clouds: Beware the Dust!
GF flours can be dusty. Really dusty. When you’re measuring, mixing, or kneading, try to minimize “flour clouds” that can spread particles. Work carefully. If you happen to be using a stand mixer, consider a splash guard. You don’t want your beautiful GF flour becoming airborne and potentially settling onto a previously used gluten surface, then getting stirred back into your mix.
Proofing Your Dough: Keep it Covered
While your GF bread dough is rising (proofing), make sure it’s covered. Use plastic wrap or a clean kitchen towel designated for GF use. This protects it from any stray airborne gluten particles that might be floating around your kitchen. Remember, flour dust is sneaky.
Oven Safety: A Clean Slate
Your oven gets hot enough to destroy gluten, right? Mostly. The interior of the oven itself generally isn’t a cross-contamination concern because the heat denatures the proteins. However, the oven racks can still hold crumbs. If you’re baking GF bread in a shared oven, give the rack a quick wipe down. Better yet, use parchment paper underneath your bread pan to create an extra layer of protection from any lingering crumb residue on the rack. Simple, effective.
Stage Five: The Grand Finale – Post-Baking Protection
You’ve done it! Your gorgeous GF bread is out of the oven. But the journey to safety isn’t over yet. The final steps are just as important.
Cooling and Cutting: Your Dedicated Tools Again
Remember that dedicated GF cooling rack? Now’s its time to shine. Place your hot loaf on it to cool completely. Once cool, use your dedicated GF cutting board and knife to slice your bread. This is not the time to grab the bread knife that was just used on a rye loaf. That’s a direct route to contamination. Slice with confidence, knowing your tools are clean and safe.
Storage Savvy: Keep It Separate
Once sliced (or even whole), store your gluten-free bread in an airtight container or a sealed bag, completely separate from any gluten-containing bread or baked goods. Never, ever put it in the same bread box as a wheat loaf. That’s like inviting the enemy in for tea. Clear labeling helps here too. A simple “GF Bread” sticker makes a world of difference for shared kitchens.
The Toaster Trap: A Dedicated GF Zone
This is probably one of the most common cross-contamination culprits. A shared toaster is a no-go. Period. Even residual crumbs in the toaster slots are enough to contaminate your GF slice. Your options? A dedicated gluten-free toaster. They’re not terribly expensive and offer huge peace of mind. Or, if space is an issue, consider reusable toaster bags. These small, heat-resistant bags create a barrier for your GF bread, allowing it to toast safely in a shared toaster. But honestly, a dedicated toaster is the way to go if you eat toast regularly.
Building Community: Empowering Everyone in Your Kitchen
If you live with others, open communication is your superpower. Explain *why* these steps are so important for your health. Most people are understanding and want to help, but they might not grasp the severity of cross-contamination. Show them your dedicated tools, explain your GF zone. Make it a team effort. This isn’t about being bossy; it’s about being healthy and happy. And it sets a fantastic example, too!
Embrace the Deliciousness: You’ve Got This!
Baking homemade gluten-free bread is a beautiful, rewarding experience. Yes, it requires a bit more thought and attention to detail when it comes to preventing cross-contamination. But honestly, the results are so worth it. That aroma, that texture, that pure, unadulterated joy of biting into a safe, delicious slice you made yourself? Priceless. It’s an act of self-care, a culinary adventure, and a testament to your commitment to a joyful, healthy GF life.
So, go ahead. Gather your certified flours, arm yourself with your dedicated tools, and bake that perfect loaf. You’re not just making bread; you’re creating peace of mind, one delicious slice at a time. And remember, for more comprehensive strategies, swing by our main guide on Preventing Gluten Cross-Contamination. Happy baking, my friends!